Healthy Vegetable Crackers
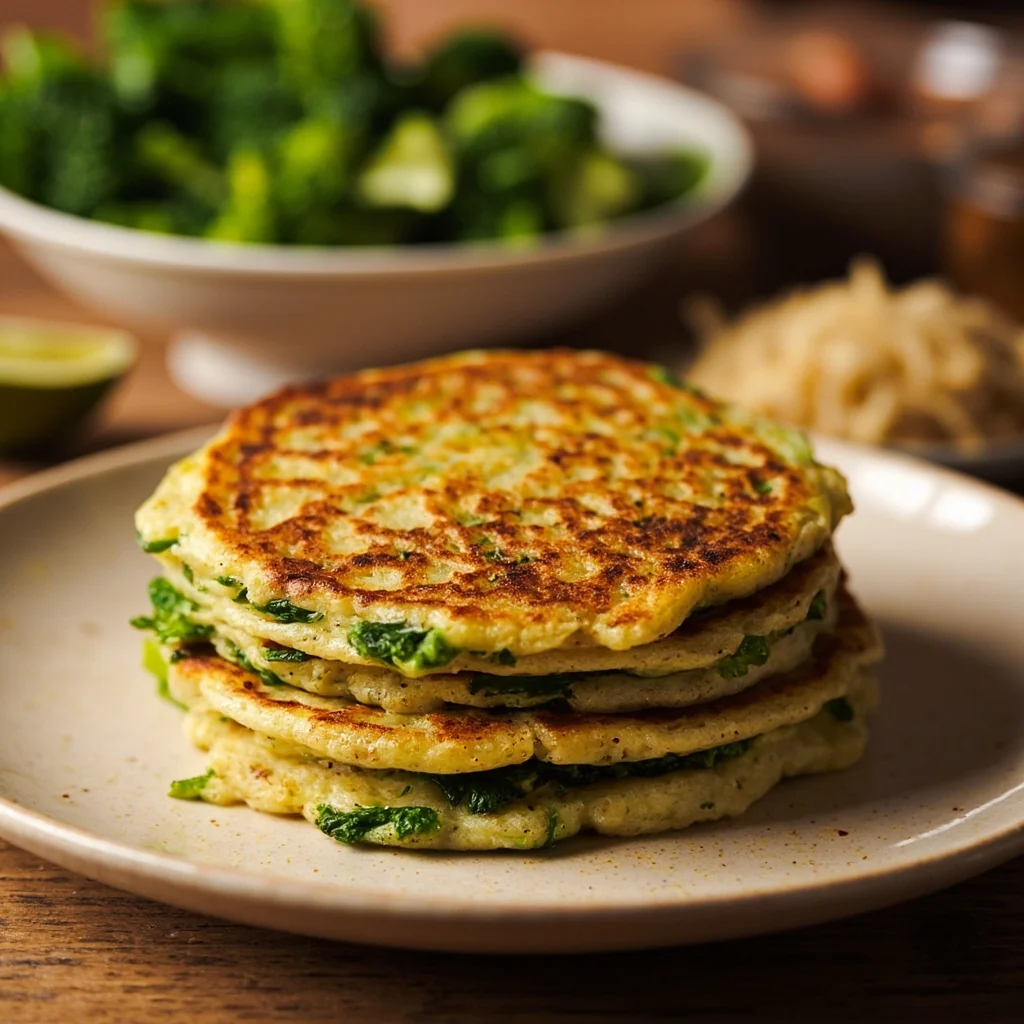
These Healthy Vegetable Crackers shatter the notion that snacks must be greasy or cloying. Packed with potato and broccoli, they bake up light and crisp, releasing a savory, vegetable-driven aroma once cooled. My family reached for them the moment they hit the table, and the unanimous verdict was simple: delicious.
Story
Most store-bought crackers come loaded with excess fat and sugar, but these Healthy Vegetable Crackers take a different path. Blending steamed potato and broccoli into a silky puree, the dough relies on fragrant camellia oil instead of heavy animal fats. Straight from the oven they might seem a bit soft, but a brief rest transforms them into perfectly crisp, golden bites. One crunch reveals the earthy sweetness of the vegetables and the mellow depth of the oil. When I set a plate down for my family, hands reached out instantly, and the unanimous verdict was a resounding delicious. Best of all, shaping and baking them is wonderfully straightforward—a snack this satisfying is absolutely worth making yourself.
Ingredients
Arawana Cake Flour
130g
Broccoli
40g
Potato
40g
Camellia Oil
30g
Salt
1g
Yeast
1g
Baking Soda
1g
White Sugar
10g
Pepper
1g
Instructions
1
Step 1
Prepare the ingredients. It is best to use vegetable oil instead of animal fat when making biscuits. This time I used camellia oil brought from my hometown instead of rapeseed oil; the taste is more mellow and fragrant.
2
Step 2
Peel the potato and cut into small pieces, break the broccoli into small florets, soak and wash them, then put them into a pot and blanch until cooked.
3
Step 3
Scoop out and drain the water, pour the potato and broccoli into a blender at the same time, and blend into a fine vegetable puree.
4
Step 4
Pour the flour, pepper powder, camellia oil, yeast, sugar, salt, and baking powder, these auxiliary ingredients, into a bowl.
5
Step 5
Knead evenly into a dough, cover with plastic wrap, and let it ferment for about 30 minutes.
6
Step 6
Take out the dough and roll it out thin on a cutting board; a thickness of about 2 millimeters is enough, because the dough pieces will still expand after baking.
7
Step 7
Take a mold and press out the biscuit shapes, then use a fork to poke some holes in the biscuits to prevent them from cracking after expanding. I used two types of molds and made two different shapes respectively.
8
Step 8
Line a baking pan with parchment paper, neatly arrange the biscuits on the parchment paper, and leave a little space between each biscuit.
9
Step 9
Take another cookie cutter and press out small cookies; continue to knead and roll out the remaining dough scraps until everything is used up.
10
Step 10
Place the two types of biscuits on separate baking trays. You can also bake both types of biscuits on a single baking tray at the same time, but because I made a relatively large amount, one baking tray could not hold them all.
11
Step 11
Place the two baking sheets into the oven separately. It is worth noting here: halfway through baking, it is best to swap the positions of the two sheets of crackers, so that the baked color and crispness will be more uniform.
12
Step 12
Use the top and bottom heat function, bake at 170 degrees for about 20 minutes and it's done.
13
Step 13
Photo of the finished dish.