
Cocoa Strawberry Snowflake Crisp
When making Snowflake Crispy in a skillet, ingredients like cookies and nuts need to be kept warm in the oven, and quick hands are a must: while cooking the marshmallows, you risk burning them over high heat, and during folding, you risk the marshmallow cooling and hardening before you can work with it. Beginners often feel overwhelmed trying to manage everything at once.
This Cocoa Strawberry Snowflake Crispy uses my original oven method—no risk of burning or hardening. The mixture can be reheated repeatedly in the oven at 80–100°C, letting you make delicious Snowflake Crispy with ease and confidence.
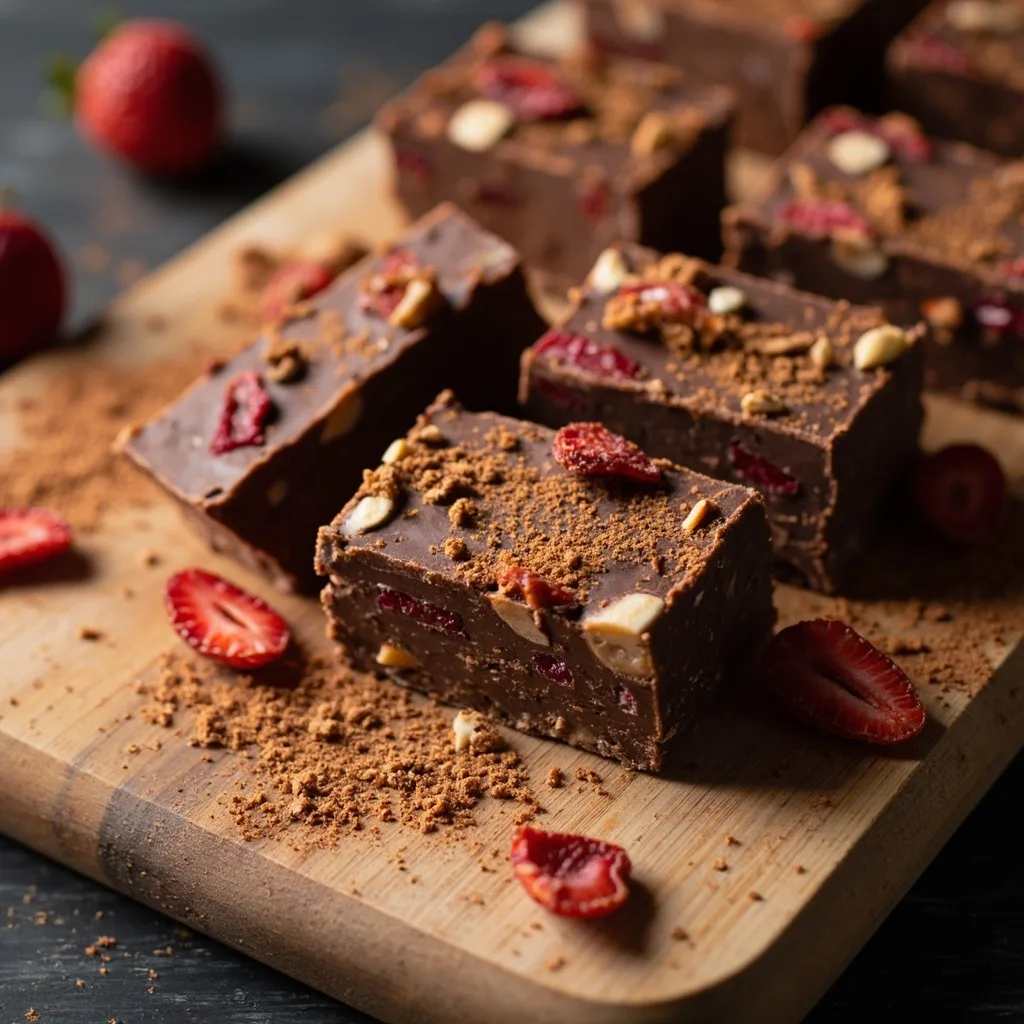
Ingredients
cocoa powder
10 g
milk powder
40 g
butter
50 g
marshmallows
200 g
biscuits
200 g
roasted peeled peanuts
40 g
roasted peeled cashews
40 g
freeze-dried strawberries
80 g
raisins
30 g
Instructions
1
Step 1
Weigh out all the ingredients.
2
Step 2
Cut any large freeze-dried strawberries into smaller pieces.
3
Step 3
Combine the biscuits, nuts, raisins, and strawberries, and mix evenly.
4
Step 4
Mix the cocoa powder and milk powder together evenly.
5
Step 5
Place the butter in a non-stick baking pan and put it in the oven at 100°C until melted. Check frequently and return it to the oven for more heating if needed.
6
Step 6
Once the butter has melted, add the marshmallows and fold gently with a spatula so all the marshmallows are coated in butter. Return the pan to the oven at 100°C and heat until the marshmallows melt.
7
Step 7
When the marshmallows have melted, take the pan out of the oven and stir with a spatula. If the marshmallows start to firm up during stirring, return the pan to the oven to reheat.
8
Step 8
Once the marshmallows are evenly mixed, add the cocoa–milk powder mixture and stir again until well combined.
9
Step 9
Add the mixed nuts, biscuits, and raisins.
10
Step 10
Put on a pair of disposable latex gloves and use your hands to fold, press, and pull the mixture. If it hardens and becomes difficult to work with, return it to the oven to reheat. Keep folding and pulling until every piece is wrapped in sugar threads.
11
Step 11
Using a scraper for support, form the snowflake crisp in a shallow non-stick pan, pressing it down as firmly and evenly as possible.
12
Step 12
Cover with plastic wrap and refrigerate until set. I left mine overnight until it firmed up.
13
Step 13
Cut into 2–3 cm cubes and dust with milk powder or cocoa powder. I personally prefer milk powder because it looks more like snow. Cocoa powder tastes slightly bitter, so dust with it if you enjoy a bittersweet flavor.
14
Step 14
Alternatively, tumble the snowflake crisp pieces in a container with milk powder or cocoa powder and toss until evenly coated.
15
Step 15
The delicious cocoa strawberry snowflake crisp is ready to enjoy.