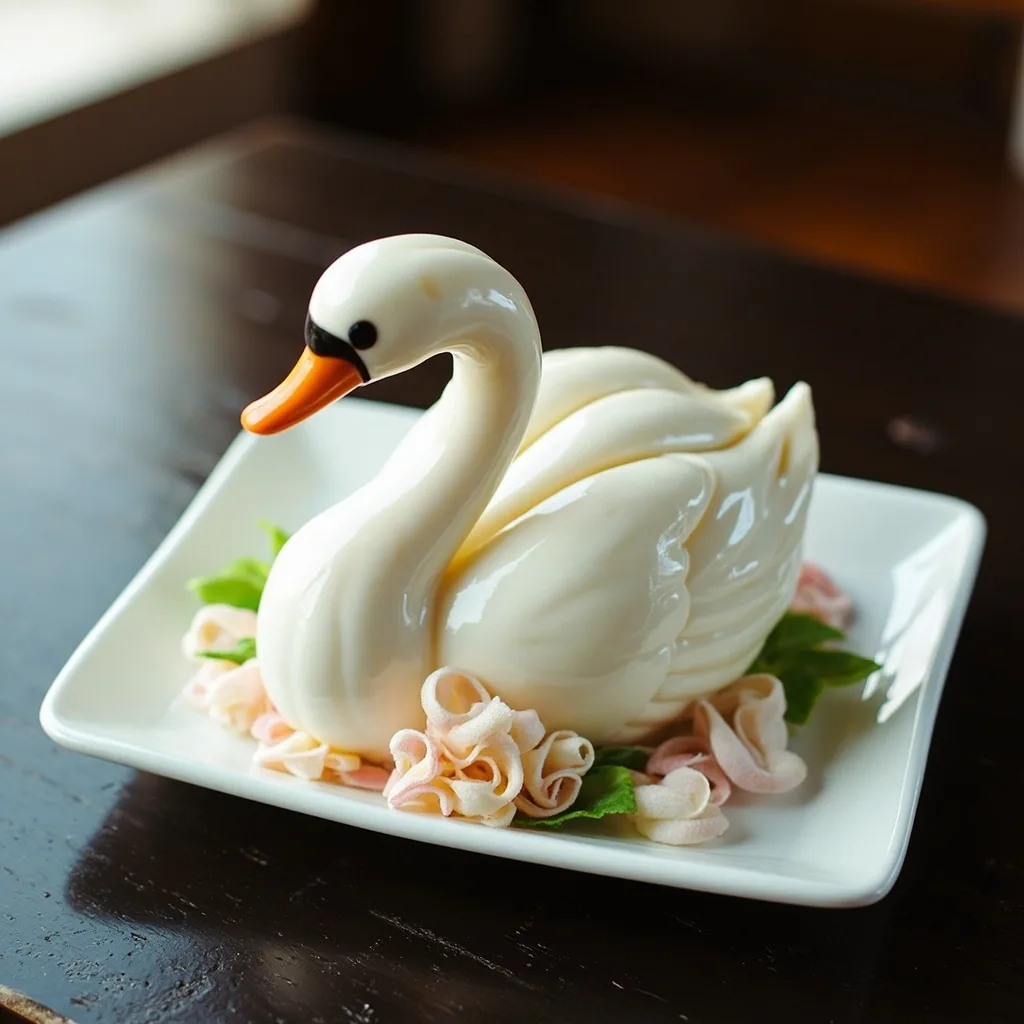
Icing Swan
Create a dimensional swan decoration using double-sided icing and flowing icing techniques, with instructions for assembling the body and wings and securing the base.
Ingredients
royal icing (for outlining, filling, and attaching)
to taste
icing (for filling the swan's body)
to taste
orange and black food coloring (for painting the beak and eyes)
a pinch
fondant icing (for securing decorations; it must not be too wet)
a small amount, slightly damp
ribbon flowers, bouquets, and ribbon bows (for decoration)
to taste
Instructions
1
Creating the Body Outlines and Fillings
Pipe the outlines onto wax paper. First, fill the lower body; once it has set, fill the upper body and head. After the upper body has set, fill the lower head to create an overlapping effect.
2
Making the Wings
Use a No. 3 tip to pipe each wing from the base to the tip. Pipe back and forth to form the feather shapes, then add a small icing swirl at the base to connect the wing to the body.
3
Turning and Adding Details
Once the swan is completely dry, carefully open and turn it over. Pipe icing onto the back to prevent dents, then fill the other side in the same way. After it dries again, use food coloring to paint the beak and eyes.
4
Assembly
Pipe royal icing onto a base and place the swan on top. Dot icing onto its sides to attach the wings, supporting them with cotton balls until dry. Use slightly damp fondant icing to secure ribbon flowers and other decorations.