Chinese Chive Pockets
Spring is the season for Chinese chives, and these tender, fragrant chives fill the kitchen with their aroma as you prepare the dough and filling for Chinese Chive Pockets.
Story
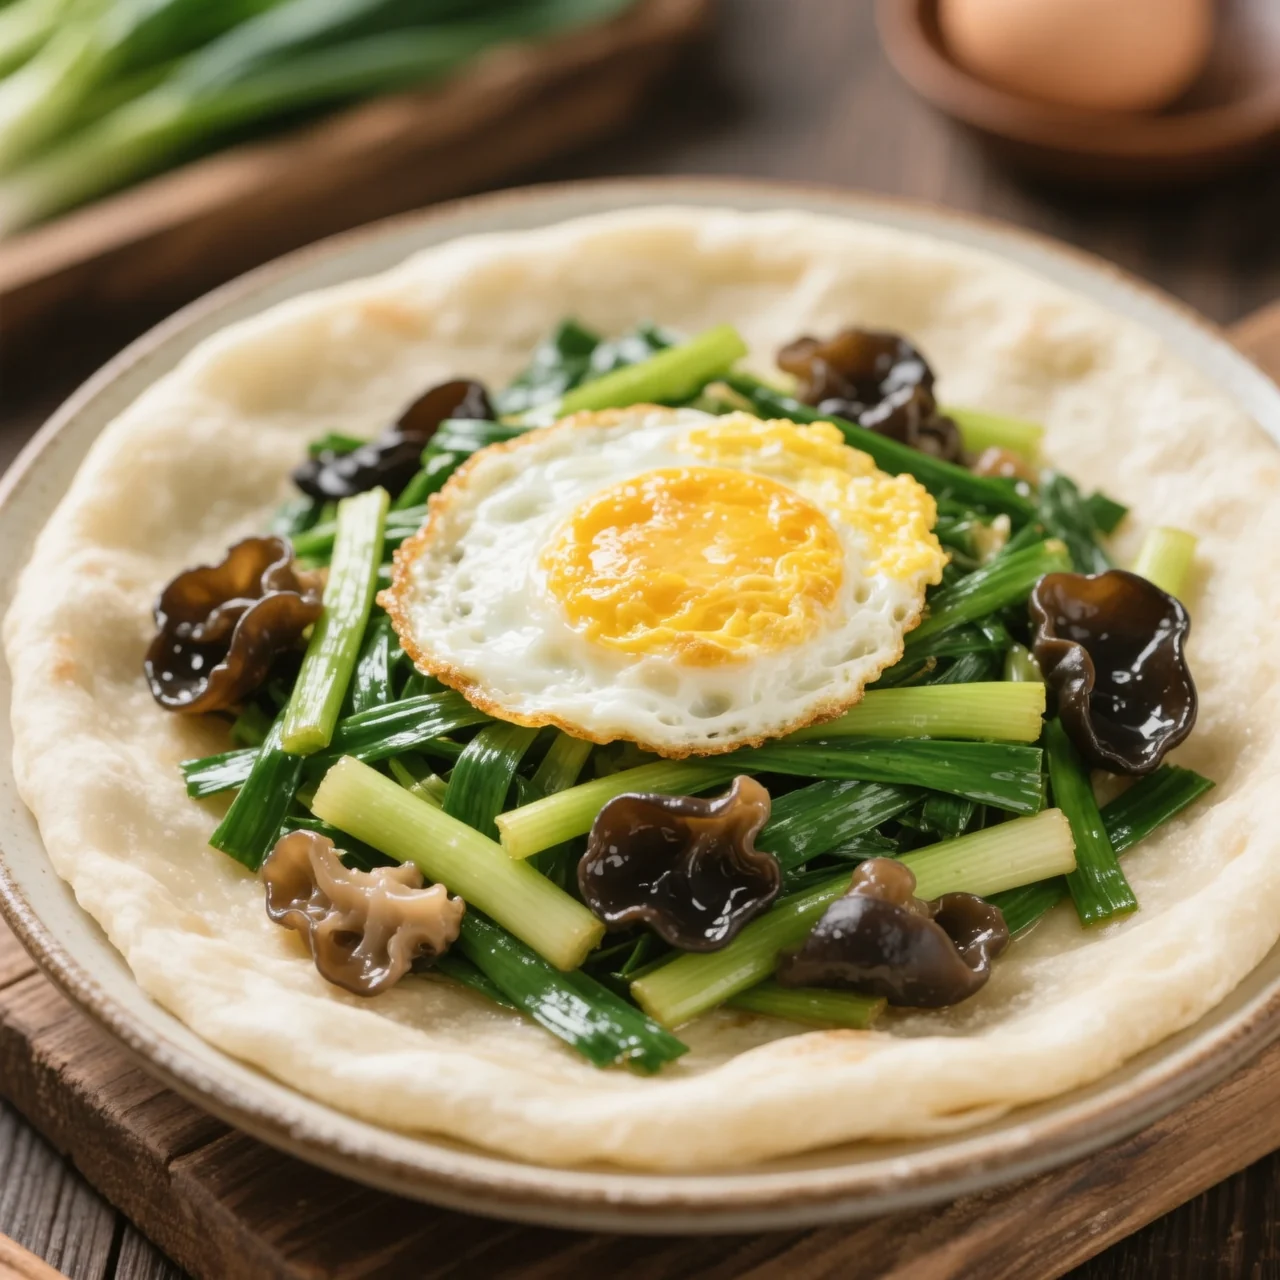
These pan-fried Chinese Chive Pockets feature a soft, hot water dough wrapped around a savory filling of chives, scrambled eggs, wood ear mushrooms, and dried shrimp. Working quickly to keep the filling juicy, the pockets are slowly pan-fried until golden brown, resulting in a crispy exterior and a warm, aromatic interior perfect for a hearty meal.
Ingredients
All-purpose flour
480g
Chinese chives
450g
Eggs
2
Black wood ear mushrooms
12
Hot water
280g
Cooking oil
10g
Salt
2g
Dark soy sauce
4g
Light soy sauce
6g
Sichuan peppercorn powder
1g
Chicken essence
2g
Sesame oil
4g
Dried shrimp
20g
Instructions
1
Step 1
Prepare the flour; all-purpose flour is fine.
2
Step 2
Add hot water to the flour; the water temperature should be around 80 degrees. Knead the flour into a softer dough, cover with a damp cloth, and let it rest.
3
Step 3
Prepare the ingredients for the chive filling: chives, eggs, and black wood ear mushrooms.
4
Step 4
Chop the chives, pour in cooking oil, mix well, and set aside.
5
Step 5
Beat the eggs and scramble them into egg crumbles; chop the black wood ear mushrooms and dried shrimp skins, then set aside.
6
Step 6
Since chives easily release juice when they meet salt, I first divide the dough into equal portions so that time is not wasted handling the dough when wrapping.
7
Step 7
Put the eggs, black wood ear mushrooms, dried shrimp skins, and chives together, add dark soy sauce, light soy sauce, Sichuan pepper powder, chicken essence, and salt, and mix well.
8
Step 8
Finally, drizzle in sesame oil and mix to enhance the flavor.
9
Step 9
Take out one dough portion, roll it into a thin round wrapper, spread an appropriate amount of chive filling on one side of the wrapper, and gently lift the other side of the dough skin to cover the chive filling; from now on, every action must be quickened to prevent the chives from releasing juice.
10
Step 10
Pinch the seal of the wrapper tightly; finish making the remaining chive pockets in the same way.
11
Step 11
Turn on the heat and set the pot; grease the non-stick pan with a little cooking oil, place the chive pockets in the pan, and pan-fry slowly over medium-low heat.
12
Step 12
When both sides of the chive pockets are golden yellow, remove the chive pockets.
13
Step 13
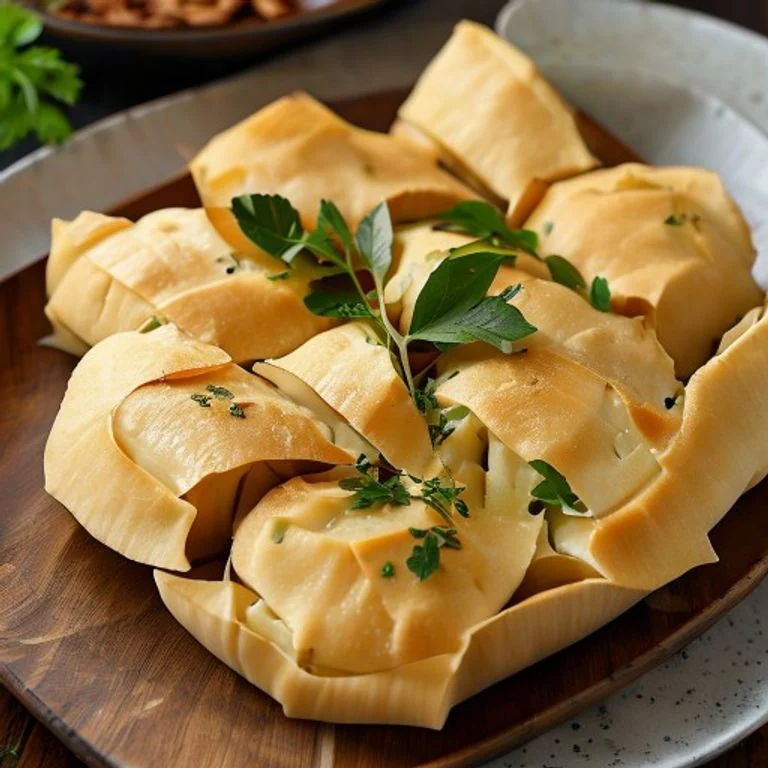
Finished product.