Earl Grey Milk Tea Cookies
Earl Grey milk tea cookies made with low-protein butter.
Story
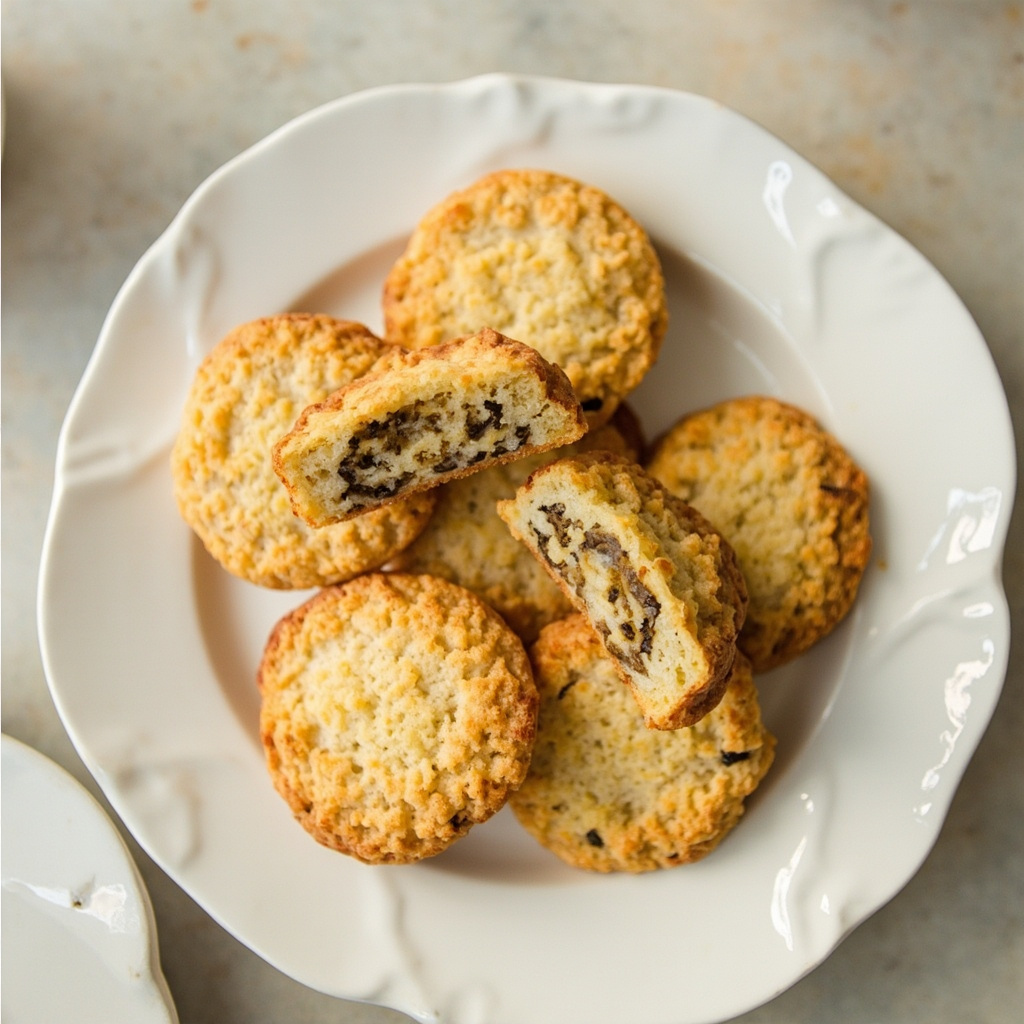
These delicate Earl Grey milk tea cookies offer a wonderful aromatic experience, perfectly balancing the rich flavor of black tea with a tender, low-protein butter cookie base. They make for an elegant and comforting treat during a relaxing afternoon break.
Ingredients
low-gluten flour
200g
almond powder
60g
butter
150g
powdered sugar
100g
egg yolk
1 piece
milk
50g
Earl Grey tea leaves
4g
high-gluten flour
to taste
Instructions
1
Step 1
First, place the unsalted butter in a container to slightly melt; I use a bowl that will be continuously used for the subsequent mixing. 1 minute in the microwave is sufficient.
2
Step 2
Use a whisk to beat the melted butter and powdered sugar until fluffy and the butter color lightens. During mixing, always maintaining one direction will be more conducive to whipping. When the butter gets caught in the middle part of the whisk, simply tap it gently against the side of the mixing bowl.
3
Step 3
Take one fresh egg and separate the yolk. S has a frustrating egg white separator which, apart from having no obvious efficiency improvement, requires a lot of water to wash afterwards; thinking of giving it away at the next kid's birthday. Crush the egg yolk and add it to the butter mixture in two or three portions, using the same method as before. As for the remaining egg white, aside from making egg white cookies, it can also be used in cooking, or generously throwing it away is not out of the question.
4
Step 4
It is not too late to prepare the Earl Grey milk tea at this time. Earl Grey tea's special, highly recognizable fragrance will still exude a charming appeal after baking. For homemade ingredients, I personally care a lot about quality and cost-effectiveness when selecting them. Heat the milk in a milk pot; when small bubbles appear at the edge of the milk for a short while, turn off the heat in a timely manner—boiling milk will produce solid proteins that are not conducive to human absorption. Throw 2 tea bags (2 grams each) directly into the milk, cover, and let it steep for a short while.
5
Step 5
Add the slightly cooled Earl Grey milk tea into the mixed butter. The following is an optional step: open one tea bag and add a small amount of Earl Grey tea leaves into the butter; adding tea leaves will make the cookie's aroma richer, and visually, some people will find it pleasing to the eye, like me (S). The meaning of fully mixing the butter and milk tea is that no liquid can be seen in the mixture.
6
Step 6
Now start weighing the flour and almond flour. Some people like to do all the prep work in advance, with various ingredients weighed and immediately placed in their respective prep stations; even if a camera suddenly appeared on the spot, they would look like a dessert master. But S does not have a professional prep table, and various cups, plates, and dishes would only make me waste water washing them, so as long as it doesn't affect the preparation, I still only take what I need when I need it, without any feeling of being rushed. After weighing the cake flour (low-protein flour), sift it directly into the mixing bowl. Almond flour does not need to be sifted; my double-layer flour sifter indicates it can't sieve it, and it won't affect the result either.
7
Step 7
Now it is time to thoroughly mix all the ingredients. A spatula can be used to assist, however, S uses a dough blender, which is so incredibly useful it makes one want to weep tears of joy. Thorough mixing means the dough reaches a state with no visible dry flour; with the help of a spatula, you can gather the flour around the mixing bowl and the materials on the dough blender.
8
Step 8
Place the thoroughly mixed materials in plastic wrap. If using a mold, flatten it slightly. For S's own consumption, an exquisite shape is not needed, so out of laziness, I directly rolled it into long strips and put them in the refrigerator's fresh food compartment. The time is half an hour to one hour; just until the dough hardens. The amount of my cookies is about enough for 3 baking pans of a regular oven. S divided the dough into two long strips, so that while one batch is baking, I can calculate the time to start preparing the second batch. Beginner students using molds should do the same; smaller portions of dough are more convenient, as the dough will become terrifying to handle once it softens.
9
Step 9
During the chilling time, you can do many things, such as washing and organizing various utensils, preferably using hot water. During the last 5 minutes of chilling, S preheated the oven to 190 degrees Celsius, top and bottom heat, and lined two baking racks with baking parchment paper.
10
Step 10
Take an appropriate amount of high-gluten flour as dusting flour. On a small cutting board, use a knife to slice the dough to a suitable thickness; mine here is about 5 or 6 millimeters. If it is 4 millimeters, you will need to appropriately reduce the baking time. Generally, when finished slicing, the dough still has considerable hardness, and the shape basically remains a rustic round. Slice some small round cookies and arrange them. When arranging, please pay attention to the spacing between them. Although they can be broken apart after baking, if you are very particular about the shape of the cookies, it is better to leave enough distance between them.
11
Step 11
Once preheated, place the baking tray in the oven, 190 degrees Celsius, top and bottom heat, for 12 minutes. At the 8 or 9 minute mark, the aroma of the cookies will already be very rich. When the surface of the cookies turns golden, they are basically done. Baking time will vary depending on the thickness and size. The Chinese nation is not one to rigidly adhere to recipes; being flexible and adaptable is our compliment.
12
Step 12
Placing them on a wire rack will be more conducive to cooling the cookies. Once cooled, just find an airtight jar to store them.