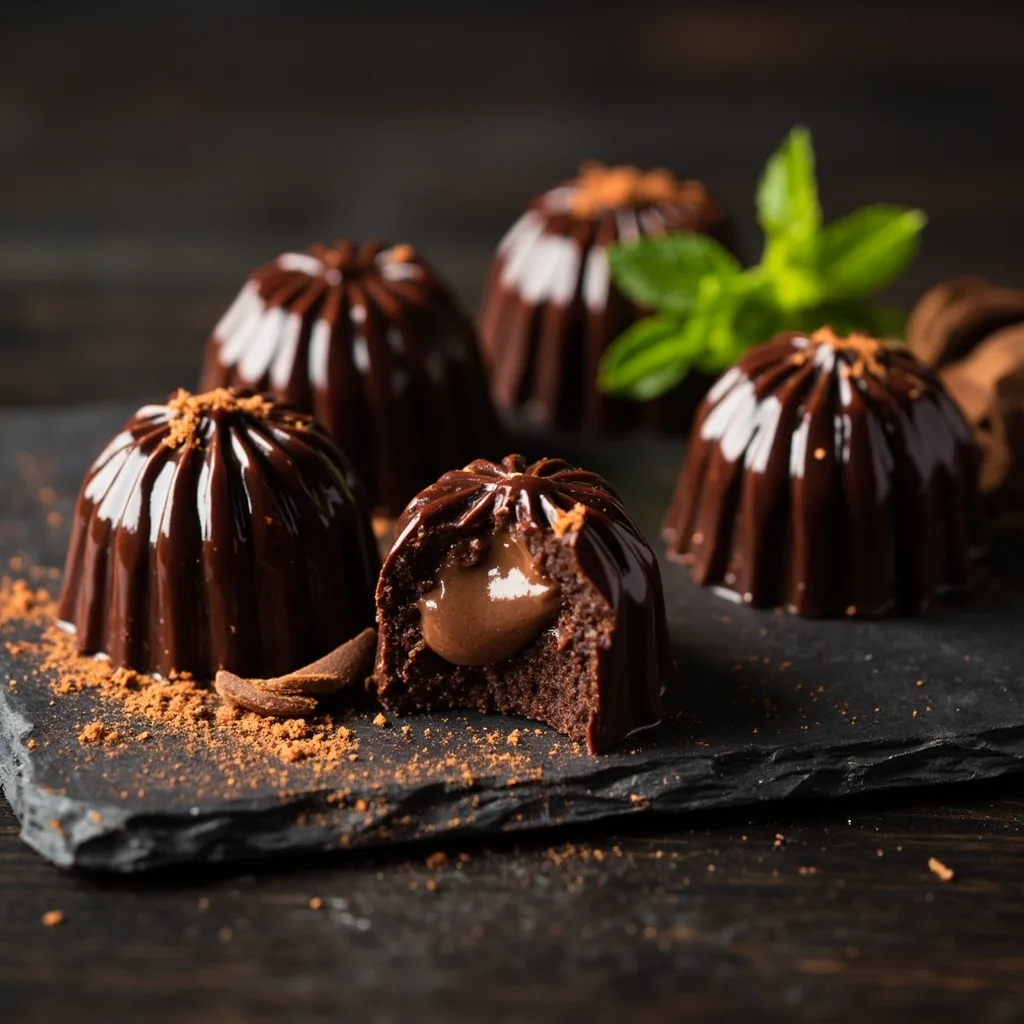
General Steps for Chocolate Mold Forming
General steps for making molded chocolates, including mold preparation, inner wall decoration, filling, back sealing, and demolding.
Ingredients
Chocolate molds (clean and dry)
to taste
Tempered chocolate (for shells and sealing)
to taste
Ganache or other fillings
to taste
Instructions
1
Mold Preparation
Heat the molds over steam, then wipe the inside with cotton balls to ensure they are clean, smooth, and dry.
2
Interior Decoration and Coating
For decoration, lightly brush the interior with tempered dark chocolate to create a marbled or dotted effect. Then coat with a layer of tempered white chocolate (or another color) and let it set. Repeat the coating if thicker shells are needed.
3
Trimming the Edges
Before the chocolate hardens, scrape the top of the molds flat with a metal spatula to remove excess chocolate.
4
Filling
Pipe in the ganache filling, do not overfill, and do not dirty the top edge of the molds.
5
Sealing the Bottom
Use a paper cone to pipe tempered chocolate over the filling. If the filling is firm, you can also use a spatula to spread a layer of tempered chocolate to seal the bottom. Scrape off excess chocolate.
6
Demolding
Invert the molds onto parchment paper; most chocolates will release on their own. If necessary, tap the molds gently.