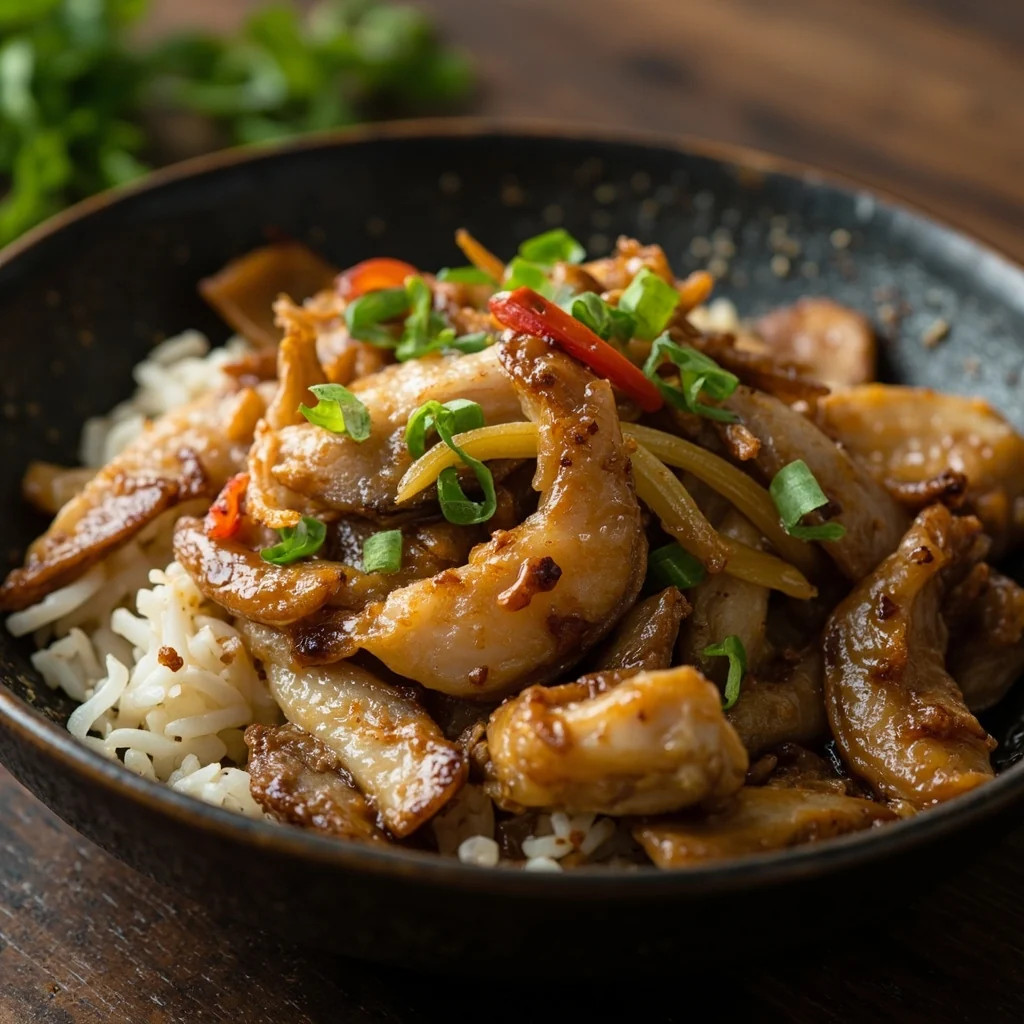
Oil-Splashed Chicken / Oil-Splashed Duck
Ingredients and preparation method for Oil-Drizzled Chicken / Oil-Drizzled Duck
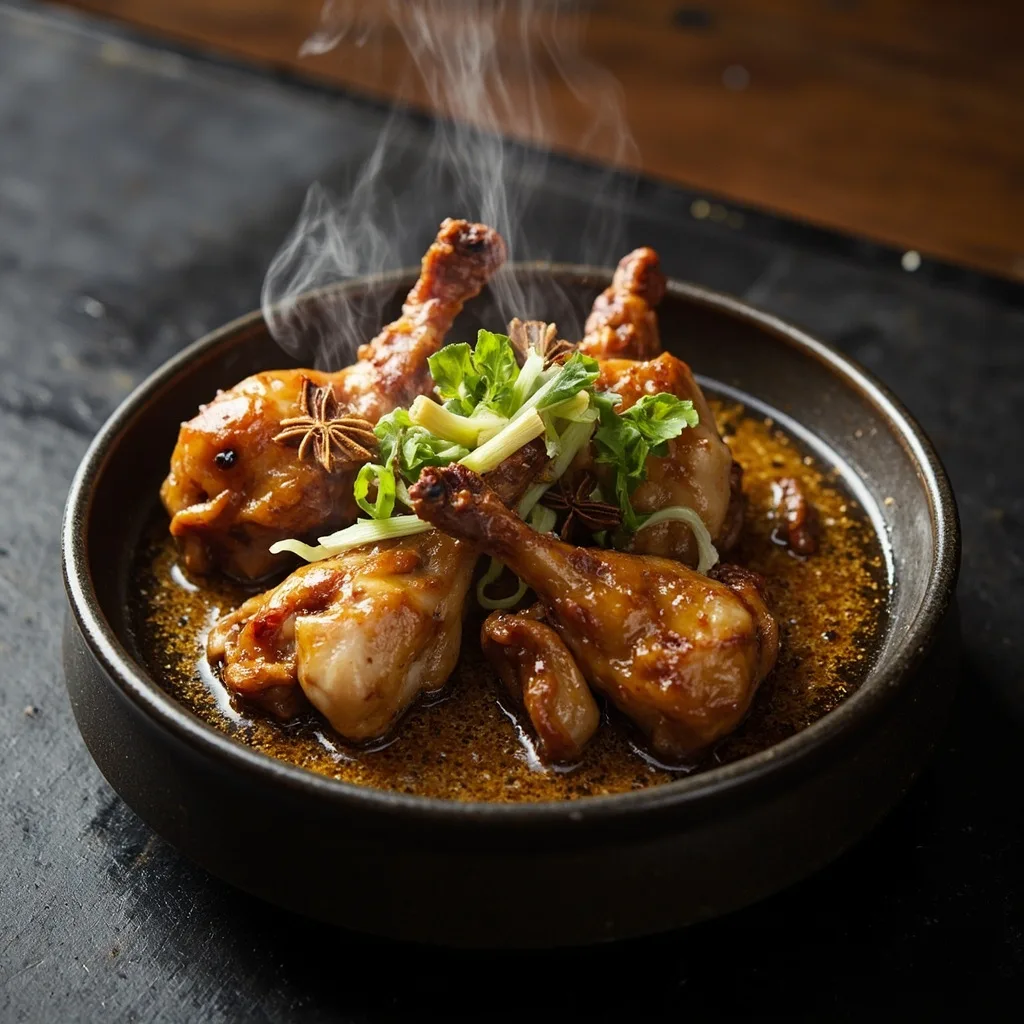
Ingredients
Whole duck (or whole chicken)
1
Cooking oil (for frying duck)
2.5 kg
Star anise
60 g
Licorice root
5 g
Nutmeg
10 g
Sand cardamom (Amomum villosum)
10 g
Sand ginger powder
35 g
Costus root (Aucklandia)
5 g
Black cardamom (Tsaoko)
15 g
Lemongrass
35 g
Cinnamon
40 g
Mother clove
25 g
Alpinia katsumadai (grass cardamom)
5 g
Lingxiangcao (vanilla grass)
30 g
Red galangal seeds
5 g
White round cardamom
15 g
Black pepper
40 g
Cumin
30 g
Dried pine (herbal spice)
5 g
Angelica dahurica (Bai Zhi)
25 g
Sichuan peppercorn
50 g
Fennel seed
25 g
Ginger
500 g
Salt
1 kg
Chicken essence
500 g
Pork bones (or 1-2 old hens)
2.5 kg
Large scallion sections
1.5 kg
Pork leaf lard
1.5 kg
White sugar
2 kg
Water
25 kg
Instructions
1
Step 1
Wash the duck thoroughly, remove excess internal organs, cut off the claws and wing tips, and clean it well.
2
Step 2
Bend the duck's head toward its back, dip the head downward into the already-boiling braising liquid for 8-10 seconds to set its shape, then place the whole duck into the braising liquid and braise over low heat for about 60 minutes.
3
Step 3
Lift the braised duck out and drain it, then lower it into 180°C oil to fry, watching the color as it cooks. Remove it once the whole duck turns golden red (this takes about 15 seconds).
4
Step 4
Briefly drain off excess oil, then plate and serve.
5
Step 5
When frying, keep the oil temperature at 185°C. You can judge it by the appearance of light bluish smoke on the oil surface.
6
Step 6
The frying time depends on the color, generally around 15 seconds.
7
Step 7
Use cooking oil for frying the duck. Filter the oil after frying and reserve it for reuse.
8
Step 8
To store the braising liquid after preparation, skim out all residue.
9
Step 9
After each use, replenish the braising liquid promptly: add water if low, add salt if not salty enough, and add light soy sauce if the color is too pale.
10
Step 10
Boil the braising liquid once every day. After bringing it to a boil, leave the lid off, do not stir, and do not let it come into contact with any raw water.
11
Step 11
Never use the braising liquid to cook any spoiled or off-smelling food.
12
Step 12
Regularly strain out impurities from the braising liquid and skim off excess surface oil and foam.
13
Step 13
Storage notes: storage methods differ under different conditions. In summer, boil once every 1-2 days; in winter, boil once every 2-3 days; under frozen storage, boil once every 15 days.
14
Step 14
For long-term use, prepare the braising liquid 3 days in advance. A freshly prepared liquid can braise 1-2 items per day. After braising 3 items, lift out the spices and replace them with fresh ones (then replace the spices once every 4-7 days thereafter). The braising liquid officially goes into use starting on day 4. Braising liquids made from different ingredients are suited to different uses: some are better for chicken, some for duck, some for other meats. For a liquid intended for a specific product, use it only for that product.