Five-Nut Mooncake
The famous line "When will the moon be clear and bright?" often comes to mind during the Mid-Autumn Festival, paired with the familiar sweet, nostalgic taste of mooncakes. For generations, mooncakes have served as a symbol of good fortune and family reunion. On Mid-Autumn nights, families gather under the full moon to enjoy mooncakes, chat, and savor time together.
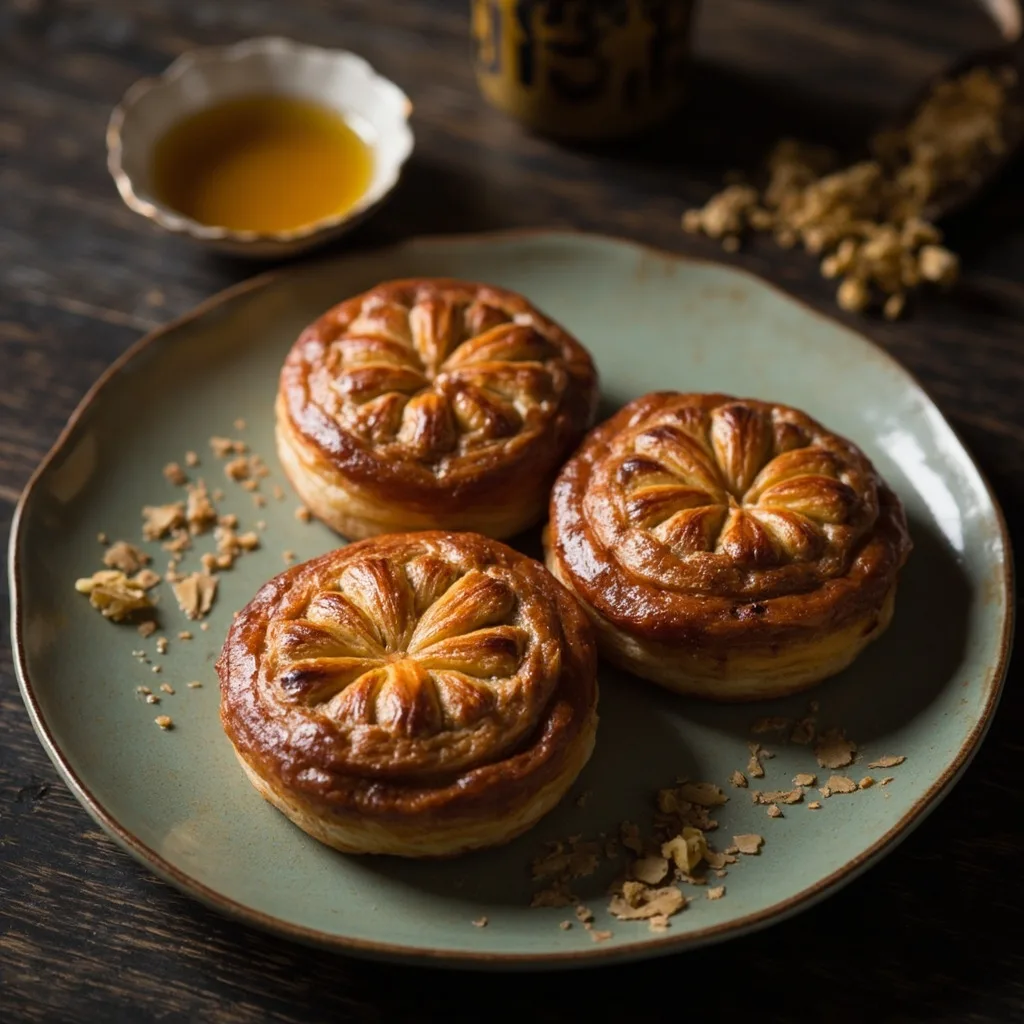
I made a batch of five kernel mooncakes this afternoon, and they turned out wonderfully! Five kernel is my all-time favorite filling, and the entire process—from roasting and crushing the homemade filling, to wrapping, pressing into molds, baking, and waiting for them to come out of the oven—was full of anticipation and joy. Tasting the final homemade result is truly delightful.
Ingredients
flour
160g
invert syrup
112g
alkaline water
3.2g
peanut oil
40g
Instructions
1
Step 1
Prepare and put the dough ingredients into a bowl.
2
Step 2
Knead until roughly combined and cover with plastic wrap. Let rest for 3 hours—it must be 3 hours; don't let it rest too long or too short.
3
Step 3
Prepare the filling, shell the walnuts.
4
Step 4
Roast the peanuts over low heat, keep stirring constantly, and taste to check if they're done.
5
Step 5
Roast the walnuts over low heat, keep stirring constantly.
6
Step 6
Roast the sesame seeds over low heat, keep stirring constantly.
7
Step 7
Put the peanuts in a bag and rub off the skins.
8
Step 8
After cooling, put everything in a bag and crush it. You can also chop finely with a knife on a cutting board, but don't make it too fine—using a food processor is not recommended, as it will become too fine.
9
Step 9
Toast the glutinous rice flour over low heat until slightly yellow.
10
Step 10
Put the filling oil, glutinous rice flour, maltose, and warm water into a bowl.
11
Step 11
Add all the filling and knead until evenly combined.
12
Step 12
Shape into 70g balls.
13
Step 13
Divide the rested dough into 30g pieces each—there will be extra, mine was about 35g each, haha. Eat as much as you like, just make sure each piece is the same size so they bake evenly.
14
Step 14
Use the tiger's mouth (palm) technique to push up and wrap.
15
Step 15
Roll in cornstarch, shake off the excess. Cooked glutinous rice flour can also be used.
16
Step 16
Dust the mold with some flour as well, tap off the excess to prevent sticking.
17
Step 17
Place into the mold, press firmly, slowly remove, and it's perfect.
18
Step 18
Once all are done, place them on a plate. I made seven in total.
19
Step 19
Spray a fine mist of water.
20
Step 20
Place in the middle rack of the oven, top and bottom heat at 180°C for 8 minutes.
21
Step 21
Remove.
22
Step 22
Beat the egg, take out some egg white, add 15g of water and stir well, then strain. Brush the surface with a brush—a pastry brush works better! Note: don't use too much, or it will burn.
23
Step 23
Bake for another 15 minutes or so, watching for the surface to color.
24
Step 24
It will be very hard when freshly baked. Seal it in a bag and wait 2-3 days for the oil to return before eating.
25
Step 25
I couldn't wait, so I tried one—haha, that familiar flavor...