Foolproof Cantonese Mooncakes ❤️ Works in Both Convection and Conventional Ovens
This recipe yields 20 mooncakes at 75 g each. For 50 g or smaller mini mooncakes, weigh the dough after kneading and divide it evenly. Be sure to let the dough rest fully so it stays pliable when wrapping.
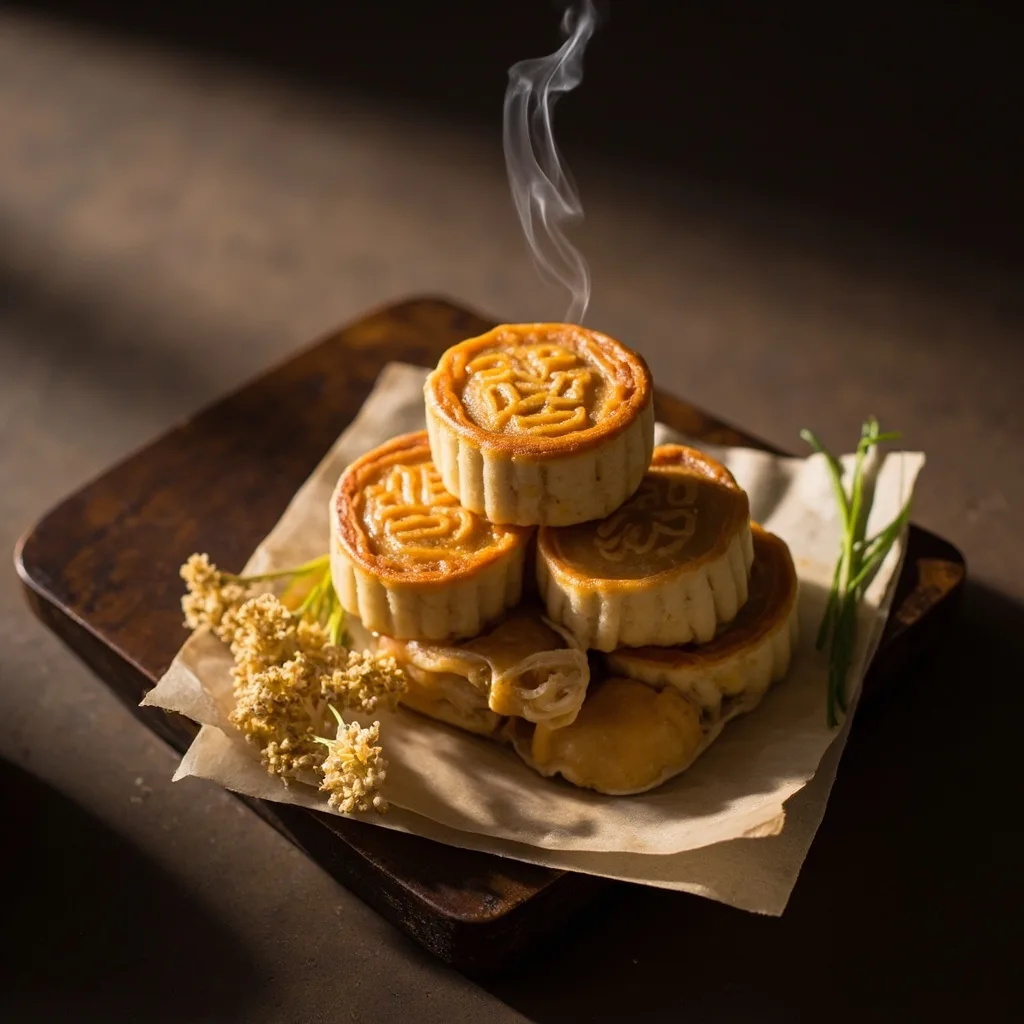
Ingredients
# Crust
Alkaline water (kansui)
8g
Peanut oil
60g
All-purpose flour
320g
Mooncake syrup
220g
# Filling
Low-sugar red bean paste
330g
Low-sugar white lotus seed paste
330g
Salted egg yolks
20 (about 11–15g each)
# Egg yolk wash
Egg yolk
1
Mooncake syrup
1 drop
Peanut oil
2 drops
Water
A little
Instructions
1
Step 1
Whisk together the mooncake syrup, alkaline water, and peanut oil until combined.
2
Step 2
Add the all-purpose flour and use a spatula to press and fold until no dry flour remains. Then put on gloves and knead until smooth.
3
Step 3
Wrap in plastic wrap and let rest at room temperature for 2–3 hours.
4
Step 4
Prepare the filling while the dough rests. Soak the salted egg yolks in cooking oil for a while, then bake in the oven at 160°C (320°F) for about 7–8 minutes, until the yolks bubble and release a fragrant aroma. Remove and let cool. If using frozen yolks, soak them in oil and refrigerate the day before.
5
Step 5
Wrap each yolk in red bean paste and lotus seed paste separately, then roll into balls. Each filled ball should weigh about 45 g total — adjust the ratio of paste to yolk depending on the size of the yolks. Beginners can refrigerate the filled balls to make wrapping the mooncakes easier later.
6
Step 6
Divide the rested dough into 30 g portions and cover with plastic wrap.
7
Step 7
Take one portion of dough, knead it briefly in your hands to make it more pliable, then flatten it into a disc with slightly thinner edges.
8
Step 8
Drape the flattened dough over a filled ball, then flip it over. Support the dough with one hand while gently pressing the filling down with your thumb. With the other hand, use the web between your thumb and index finger to slowly push the dough up around the filling, sealing as you go. This wrapping method is well-suited for beginners.
9
Step 9
Place some all-purpose flour in a bowl, roll each wrapped mooncake in the flour, round it, and set on a baking tray.
10
Step 10
Choose your favorite mooncake mold, place the dough ball inside, and press to form the pattern. Hold the press down for two seconds, then press again evenly twice more.
11
Step 11
Preheat a convection oven to 180°C (350°F).
12
Step 12
Lightly mist the tops of the mooncakes with water — don't spray directly onto them and don't use too much.
13
Step 13
Bake in a convection oven at 160°C (320°F) for 6 minutes to set the shape, then remove. For a conventional oven, set at 170°C (340°F).
14
Step 14
Make the egg yolk wash: combine the egg yolk with peanut oil and mooncake syrup, mix well, then strain once. If it's still too thick, add a tiny bit of water to thin it out.
15
Step 15
Use a wool brush to apply a very thin layer of egg wash onto the surface of each mooncake — make sure it's thin! Other brushes aren't really recommended; a wool brush works best in my experience.
16
Step 16
Return the mooncakes to the convection oven and bake at 140°C (285°F) for 6 minutes, then remove. For a conventional oven, bake at 165°C (330°F) for 6–8 minutes.
17
Step 17
Brush the mooncakes with a second coat of egg wash, then return them to the convection oven at 140°C (285°F) for 6 minutes. For a conventional oven, bake at 165°C (330°F) for 6–8 minutes. Watch the browning closely and adjust the timing for your oven. If the coloring is uneven, flip or rotate the tray when you take them out to apply the egg wash.
18
Step 18
Once the mooncakes come out of the oven, prepare base trays, sealing bags, and food-grade oxygen absorbers. Seal the mooncakes when they have cooled to warm — sealing while still warm helps extend their shelf life.
19
Step 19
Freshly made mooncakes will feel a bit dry and need time to "return oil" (回油). After 1–2 days, the oil will gradually seep back out, and the skin will reach its best texture — soft and flaky, and very delicious.