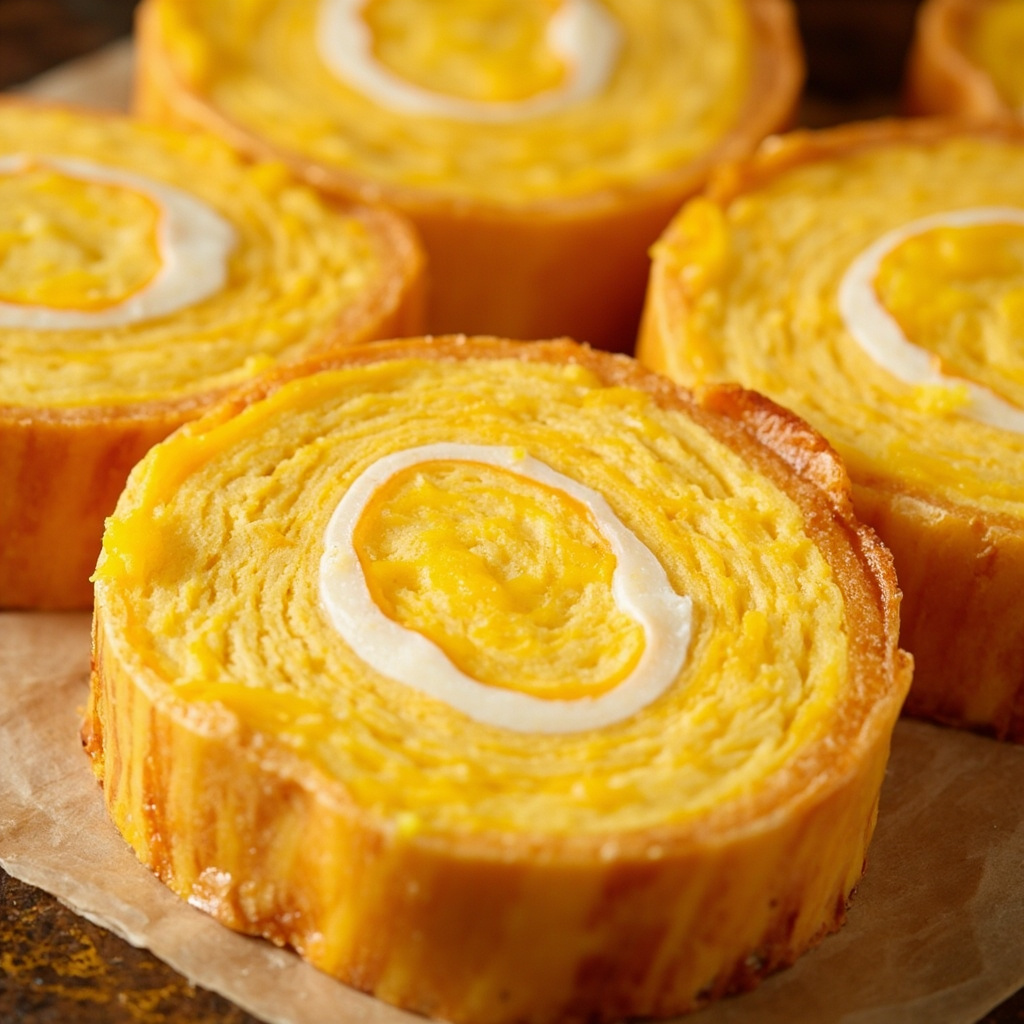
Tiger Skin Swiss Roll
A popular Chinese home-baked dessert featuring a soft, fluffy sponge cake with a crisp, golden-brown striped 'tiger skin' outer crust, loved for its delightful textural contrast.
Story
This iconic whimsical treat gets its name from the distinctive dark golden stripes that form on its outer crust during the baking process, creating a playful, eye-catching appearance alongside its delicious mix of crisp, sweet outer layer and tender, moist cake interior, perfect for casual afternoon snacks or family dessert time.
Ingredients
Egg yolks, three pieces
Sugar
30g
Cornstarch
10g
Vanilla extract, a few drops
Eggs
2 pieces
Sugar
10g (add to egg yolks)
Water
25g
Oil
25g
baking powder
2g
low-gluten flour
40g
heavy cream
60g
sugar
8g
Instructions
1
Step 1
All ingredients
2
Step 2
Add sugar and vanilla extract to the egg yolks, then beat until fluffy
3
Step 3
Beat the egg yolks until they turn pale and increase in volume
4
Step 4
Sift cornstarch into the beaten egg yolk mixture and stir until well combined
5
Step 5
Pour the mixture into an 8-inch square baking pan and smooth the surface
6
Step 6
Preheat the oven. Bake at 200°C for 5 minutes until a beautiful tiger skin pattern forms
7
Step 7
After the tiger skin is ready, set it aside to cool. Then start making the chiffon cake: separate 2 egg yolks and egg whites into clean, dry bowls
8
Step 8
Beat the egg whites until fish-eye bubbles form, add baking powder and one-third of the sugar, then continue beating
9
Step 9
Sugar must be added in three portions to ensure the egg whites can be whipped properly.
10
Step 10
Add sugar to the egg whites in three batches, and whip to soft peak stage: when you lift the whisk attachment of the electric mixer, a small hooked triangle forms on it, indicating it is ready.
11
Step 11
Add sugar to the egg yolks, stir gently, do not whip, just mix until evenly combined.
12
Step 12
Add water and oil to the mixed egg yolks, continue stirring until evenly combined.
13
Step 13
Sift low-gluten flour into the egg yolk mixture, stir until smooth and free of lumps.
14
Step 14
Take one-third of the egg whites and mix into the egg yolk mixture until well combined, then pour the mixed batter back into the remaining egg whites and stir to mix.
15
Step 15
Pour the mixed batter into a baking tray, smooth the surface, tap the tray several times to release large air bubbles.
16
Step 16
Preheat the oven to 160°C for 15 minutes.
17
Step 17
Set the baked chiffon cake aside to cool, reserve for later use.
18
Step 18
While the cake is cooling, you can start whipping the heavy cream. Whip the heavy cream with sugar until the mixture holds distinct peaks that do not disappear immediately when the whisk is lifted, then stop.
19
Step 19
Once the cake has cooled to a slightly warm temperature, you can start rolling. Place the cake with the tiger skin side facing down, spread a thin layer of whipped cream over it, then cover it with the chiffon cake surface (trim 1-2cm off the length of the chiffon cake first to make wrapping easier). After covering, spread a thicker layer of cream over the chiffon cake, and you can also add your favorite fruits if desired.
20
Step 20
Make a shallow cut at the starting end of the cake roll. Do not cut all the way through, as this will make rolling easier.
21
Step 21
After rolling the cake into a log, wrap it in paper, place it in the refrigerator for 30 minutes to set.
22
Step 22
You can now serve and eat it.
23
Step 23
You can cut it into any shape you prefer.