Daughter's Birthday Cake
I saw online that Vietnamese rice paper could be used to decorate cakes and thought it looked so dreamy. I made one for my daughter’s birthday; it turned out beautifully and had a lovely princess-like feel.
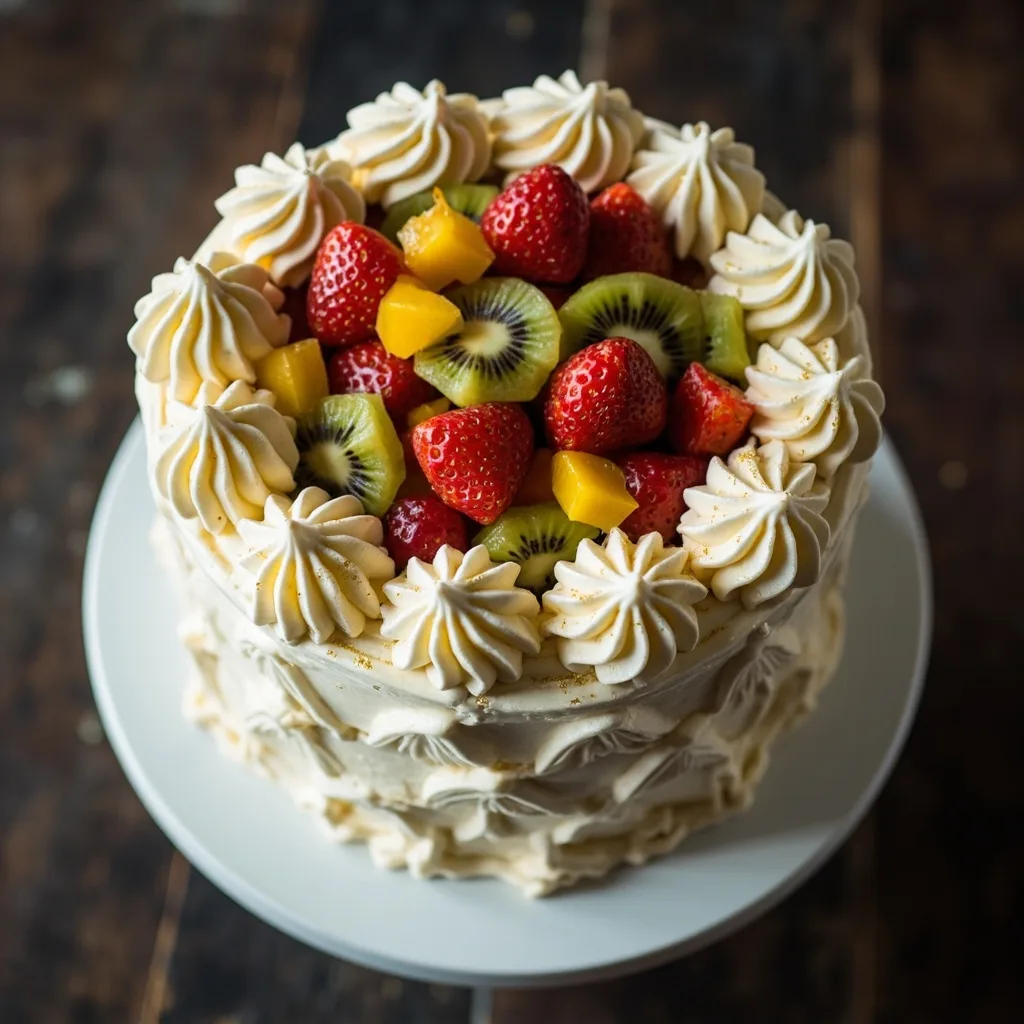
Ingredients
8-inch tall chiffon cake
1
heavy cream
500ml
granulated sugar
2 tbsp
fruit
as needed
food coloring
as needed
edible gold powder
as needed
Instructions
1
Step 1
Prepare the cake base in advance. (For the recipe and method, please refer to my recipes.)
2
Step 2
Dice the fruit. (I used dragon fruit and golden kiwi.)
3
Step 3
Slice the cake into 3 layers.
4
Step 4
Whip the heavy cream with sugar until stiff peaks form. (Take out a small portion and mix it with pink food coloring.)
5
Step 5
Place a cake layer on the cake board, spread a thin layer of cream, and add the diced fruit.
6
Step 6
Add another cake layer, spread cream, add diced fruit, and top with the final cake layer.
7
Step 7
Use the remaining cream to smooth the cake surface. Randomly dollop on the pink-tinted cream and smooth it out to achieve the effect shown in the photo. (Smoothing the frosting is my weakness.)
8
Step 8
Finally, decorate the cake with rice paper as desired.
9
Step 9
Here's the finished product—so fairy-like, right?
10
Step 10
One more shot—the effect is so satisfying, haha...
11
Step 11
Method for the rice paper decorations: Vietnamese rice paper is also known as Vietnamese spring roll wrappers.
12
Step 12
Mix food coloring into clean water.
13
Step 13
Crumple the baking parchment paper.
14
Step 14
Cut the Vietnamese rice paper into small pieces and soak until soft, about 1 minute.
15
Step 15
Place on the parchment paper to shape.
16
Step 16
Once completely dry, the parchment paper can be peeled off.
17
Step 17
Brush the edges with edible gold powder for an instant elegant touch. (The rice paper should be made 1–2 days in advance and dried completely before use.)