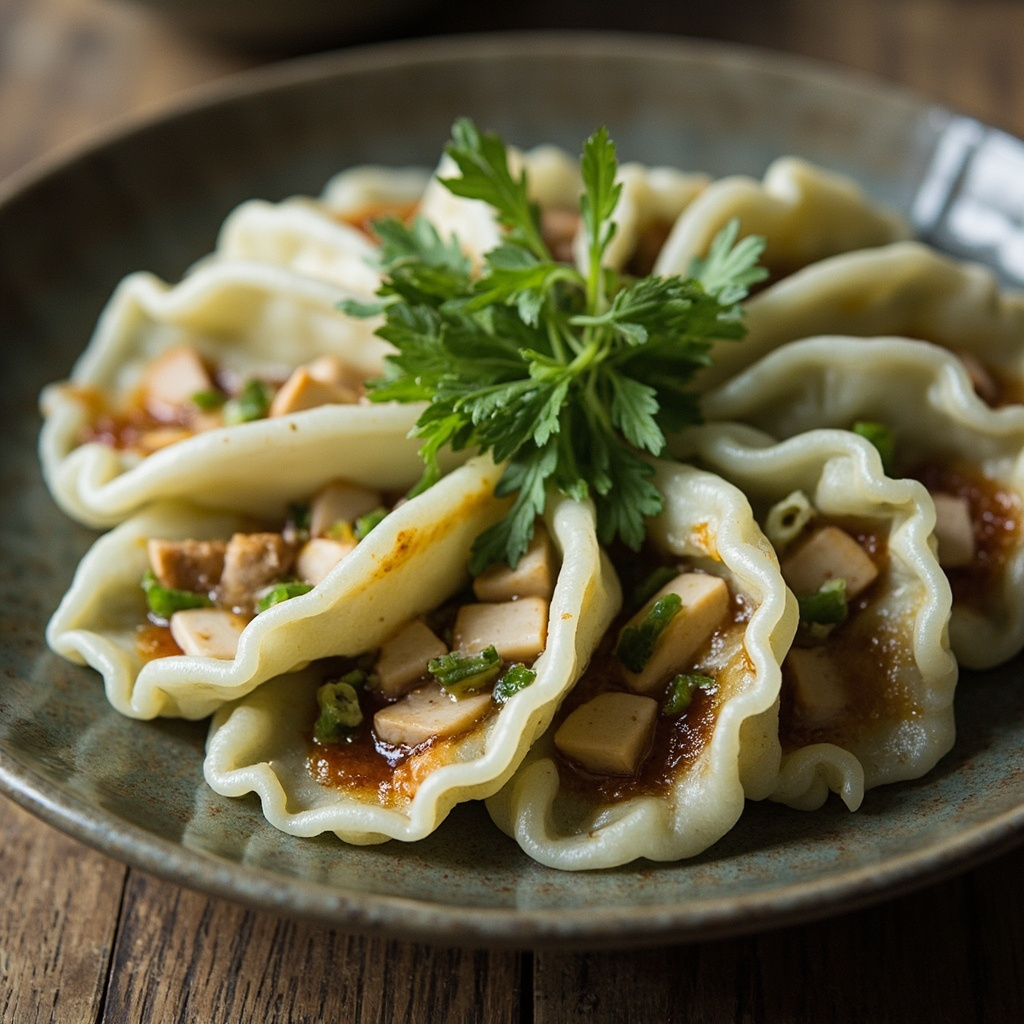
Mugwort Rice Cake (Ai Mi Guo)
Taste a bite of spring.
Story
Experience the essence of the season with this delightful traditional treat. It captures the fresh, vibrant flavors of spring in every single bite.
Ingredients
rice flour
300g
glutinous rice flour
200g
mugwort
to taste
pickled vegetables
a handful
pork
1 piece
dried tofu
4 slices
spring bamboo shoots
to taste
Chinese shallots
a small handful
dried chili peppers
a few
lard
20g
Instructions
1
Step 1
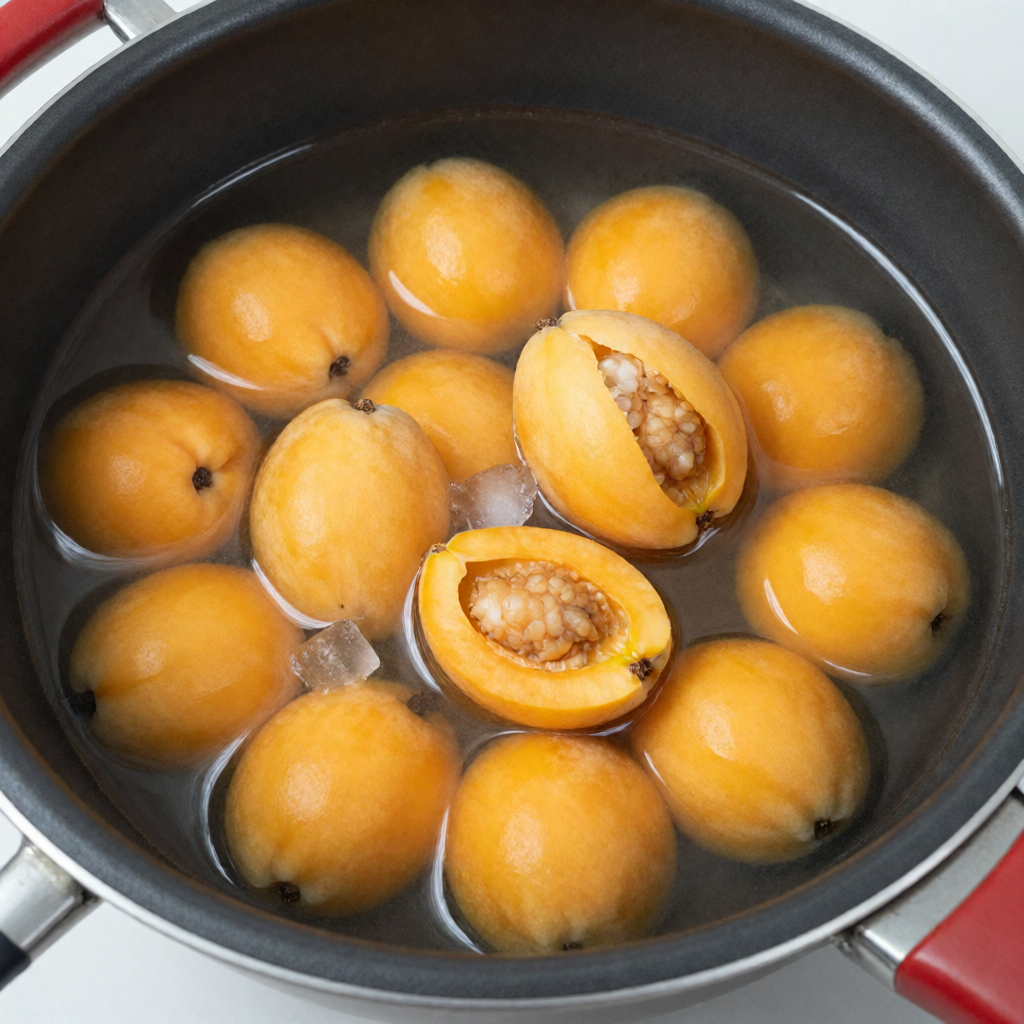
Clean the fresh mugwort thoroughly.
2
Step 2
Pour an appropriate amount of water into a pot and bring to a boil, then add an appropriate amount of baking soda.
3
Step 3
Then blanch the mugwort. Once it becomes soft, remove it and plunge into cold water.
4
Step 4
Put the blanched mugwort into a high-speed blender, add a small amount of water, and blend into a puree.
5
Step 5
Add it into the flour.
6
Step 6
Knead into a dough, then add 20g of lard and continue to knead until even.
7
Step 7
Then pinch off small pieces of dough, place in a steamer, and steam until cooked.
8
Step 8
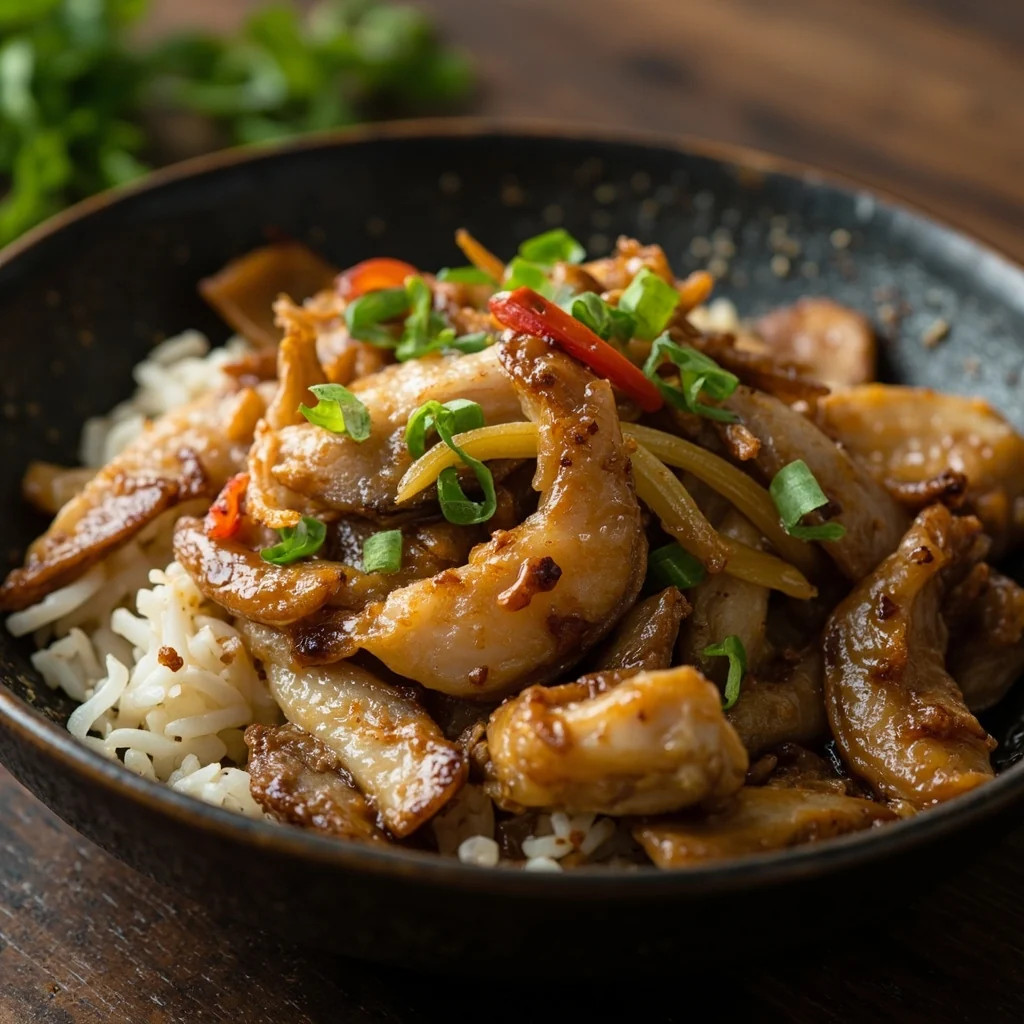
Dice a piece of pork leg. First, stir-fry the fat over high heat to render the oil out.
9
Step 9
Add diced lean meat and stir-fry until it changes color.
10
Step 10
Add an appropriate amount of light soy sauce, salt, oyster sauce, and cooking wine, and toss evenly.
11
Step 11
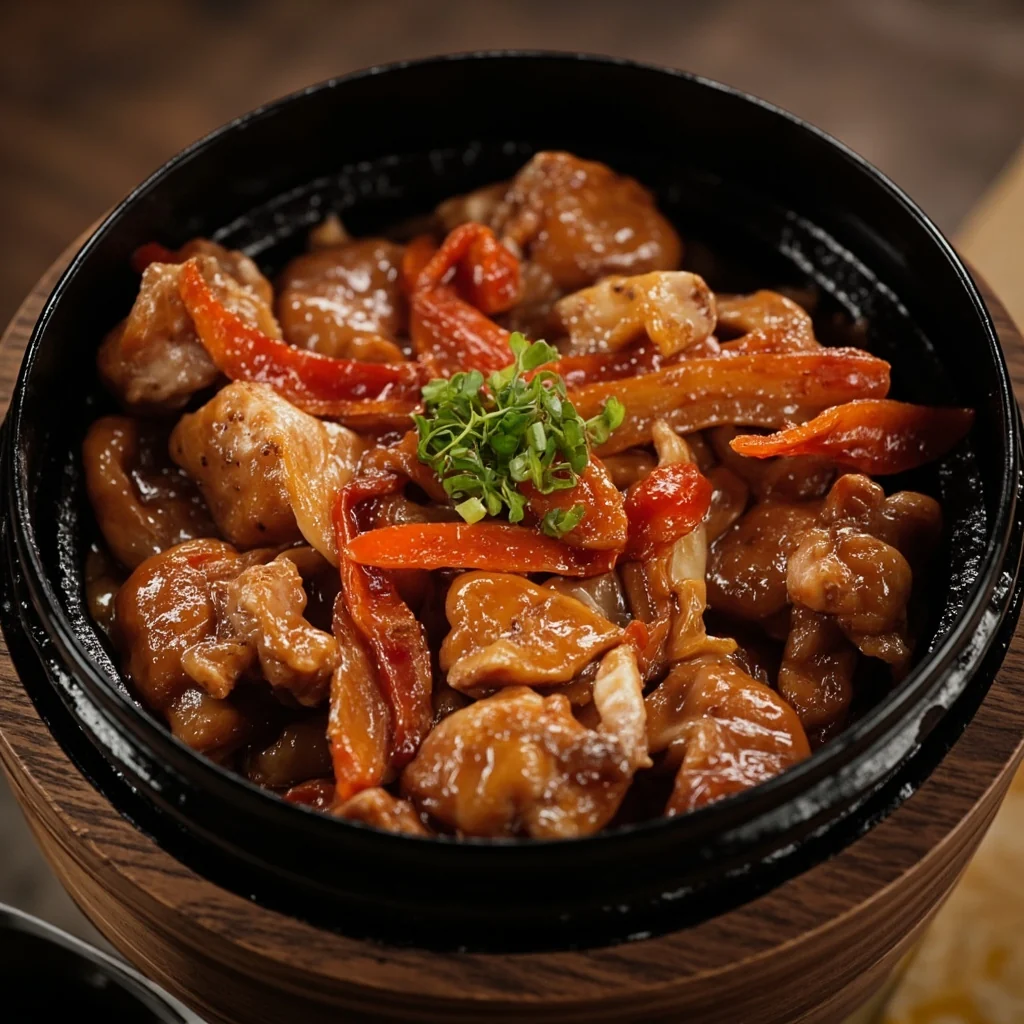
Add dried tofu, jiao tou, and dried chili peppers, and stir-fry.
12
Step 12
Once the flavors are absorbed, add pickled mustard greens and boiled diced spring bamboo shoots.
13
Step 13
Adjust the seasoning according to taste, and add the jiao tou leaves after turning off the heat.
14
Step 14
The steamed mugwort dough will have a darker color; let it cool slightly, then pour it out.
15
Step 15
Knead into a dough ball.
16
Step 16
Roll into strips.
17
Step 17
Cut appropriate portions of the dough and roll them into round wrappers.
18
Step 18
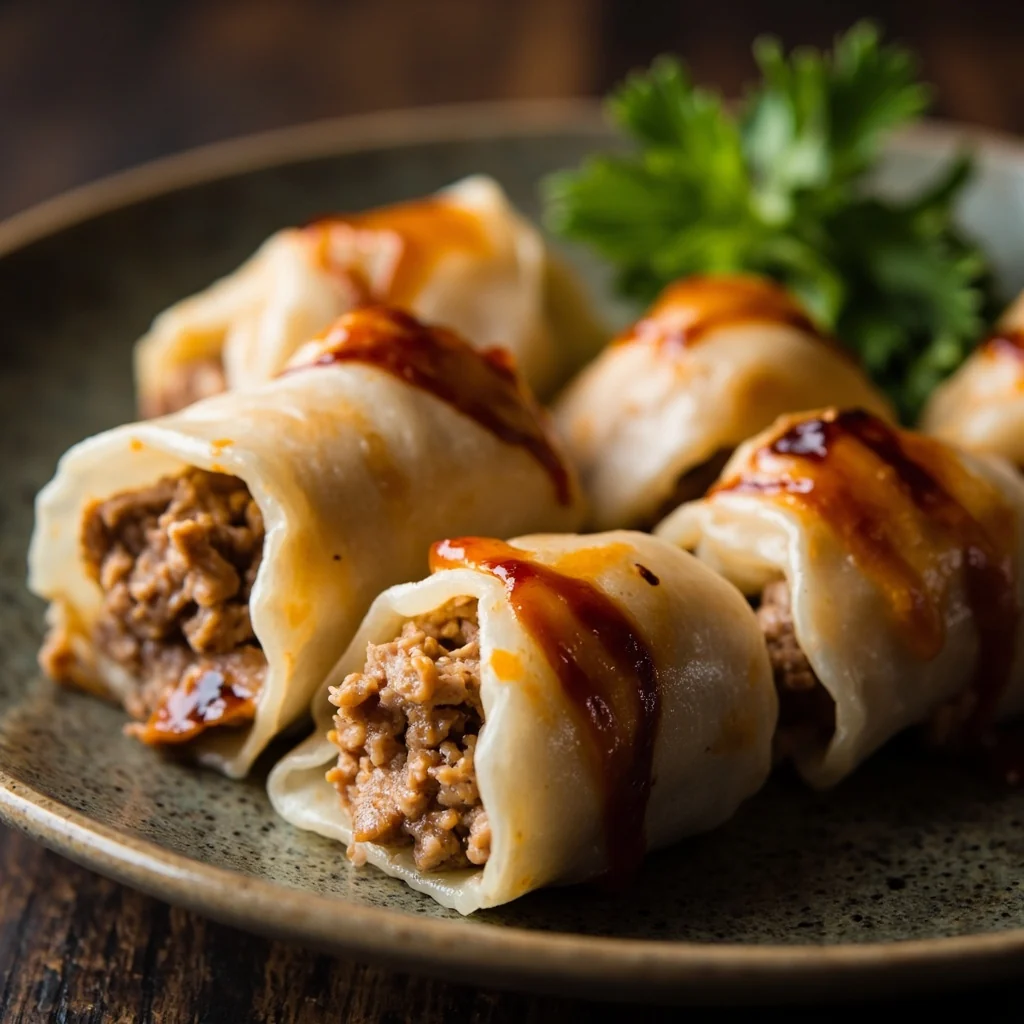
Place an appropriate amount of filling on it.
19
Step 19
Seal the edges.
20
Step 20
Then pinch to form a decorative edge.