
Stained Glass and Light Catcher Cookies
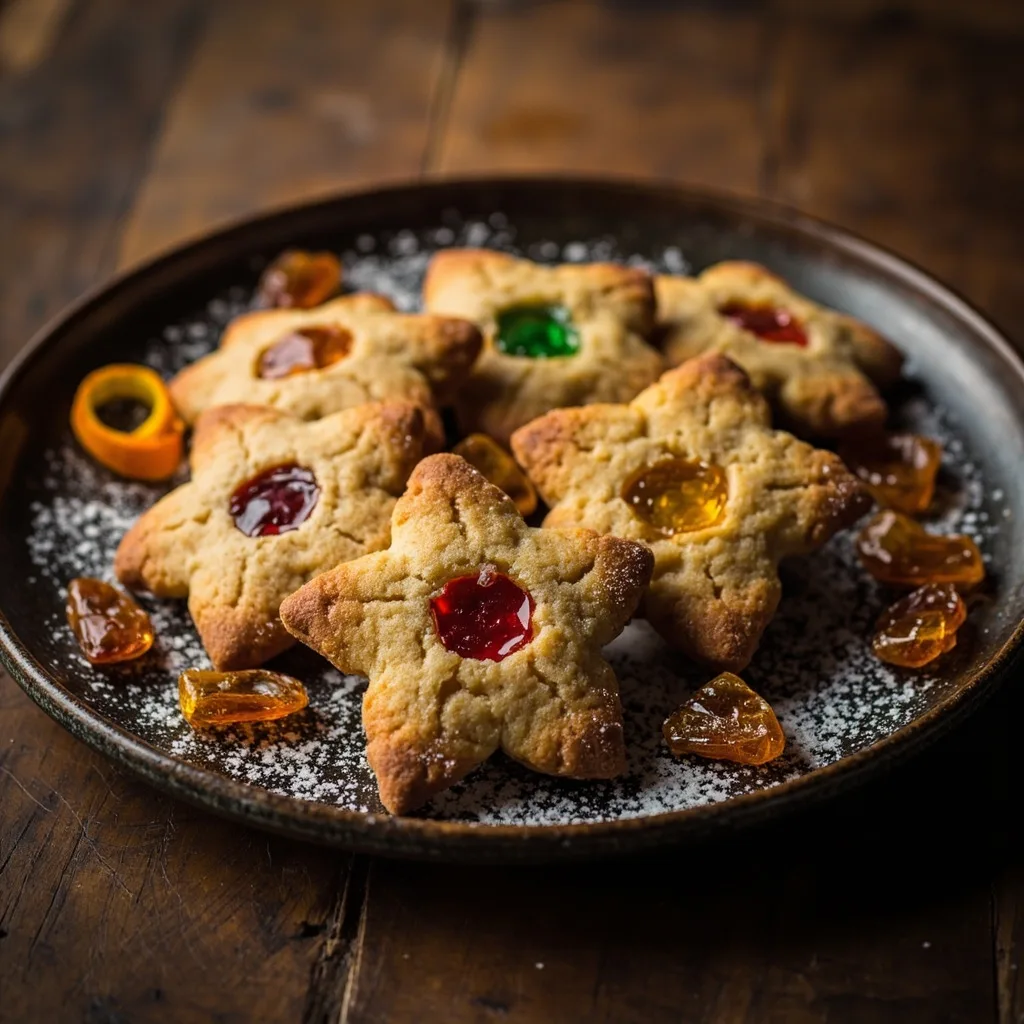
Crushed hard candy melts in the center of these cookies to create a colorful, translucent "stained glass" effect. A charming homemade gift or decorative treat.
Ingredients
Big Batch Gingerbread Dough (see page 334)
1 recipe
All-Purpose Sugar Cookie Dough (see page 332, optional substitute)
1 recipe
assorted lollipops or hard candy (unwrapped, need to be crushed; thin disc-shaped lollipops recommended)
1 12-to-16-ounce bag
Instructions
1
Prepare the Dough
Make the dough, roll it out, and chill.
2
Prepare the Candy
Place each color of lollipops or hard candy into separate plastic bags (or double plastic bags). Seal the bag. Use a kitchen mallet or the back of a large metal spoon to crush until the candy is broken into medium-coarse pieces. If using lollipops, remove and discard the sticks.
3
Preheat the Oven and Prepare the Baking Sheets
Preheat the oven to 350°F. Line several baking sheets with aluminum foil. Spray the foil with nonstick spray.
4
Cut the Cookies
Use 2.5 to 3-inch cookie cutters to cut out cookies. Carefully transfer the cookies to the baking sheets using a spatula, spacing them 2.5 inches apart.
5
Create Cutout Designs
To make simple light catcher cookies, use a slightly smaller cutter in the same or a complementary shape to cut a 'window' from each cookie; choose a cutter that leaves at least 0.5 inches of dough border on all sides. For a stained glass effect, use a thimble, the wide end of a piping tip, or mini cutters to cut out several different small areas; the cutouts should form an attractive pattern, like the panes of a cathedral window. If desired, add a hanging hole.
6
First Bake
Bake one sheet at a time in the center of the oven for 7 to 11 minutes, until the edges just begin to turn light brown; be careful not to overbake. Move the baking sheet to a cooling rack and let the cookies cool until they are cool enough to handle.
7
Fill with Candy
Using a small spoon or your fingertips, add enough crushed candy to fill each cutout; each cutout can be filled with a different color, or you can try using complementary colors in different areas of the same cutout to create a rainbow or multicolor window effect. Use a small pastry brush or a clean paintbrush to brush away any candy crumbs from the dough.
8
Second Bake
Return the cookies to the oven and bake until the candy melts and becomes glassy, 2 to 5 minutes, depending on the brand and amount of candy used.
9
Cool and Unmold
Move the baking sheets to a cooling rack. Let sit without moving the cookies until the 'glass' cools and hardens, about 7 to 10 minutes. Do not touch the cookies while they cool, as the 'glass' is extremely hot. When the cookies have cooled to lukewarm, carefully peel them off the aluminum foil. Let sit on a cooling rack until completely cooled.
10
Display and Storage
Store the cookies in an airtight container or wrap individually; they will keep for up to 2 weeks or frozen for up to 2 months. To display the light catcher cookies, place them in the center of a large square of quality plastic wrap, pull the excess wrap together, and tie tightly with a colorful hanging ribbon. (Wrapped cookies should not be displayed too long, as the 'glass' areas can become sticky.)