Sunny-Side-Up Eggs for Photography
Maintain an oil temperature of 250°F and add cold eggs to the pan to produce a perfect sunny-side up egg with a compact shape, non-spreading whites, and a structure that holds for over an hour.
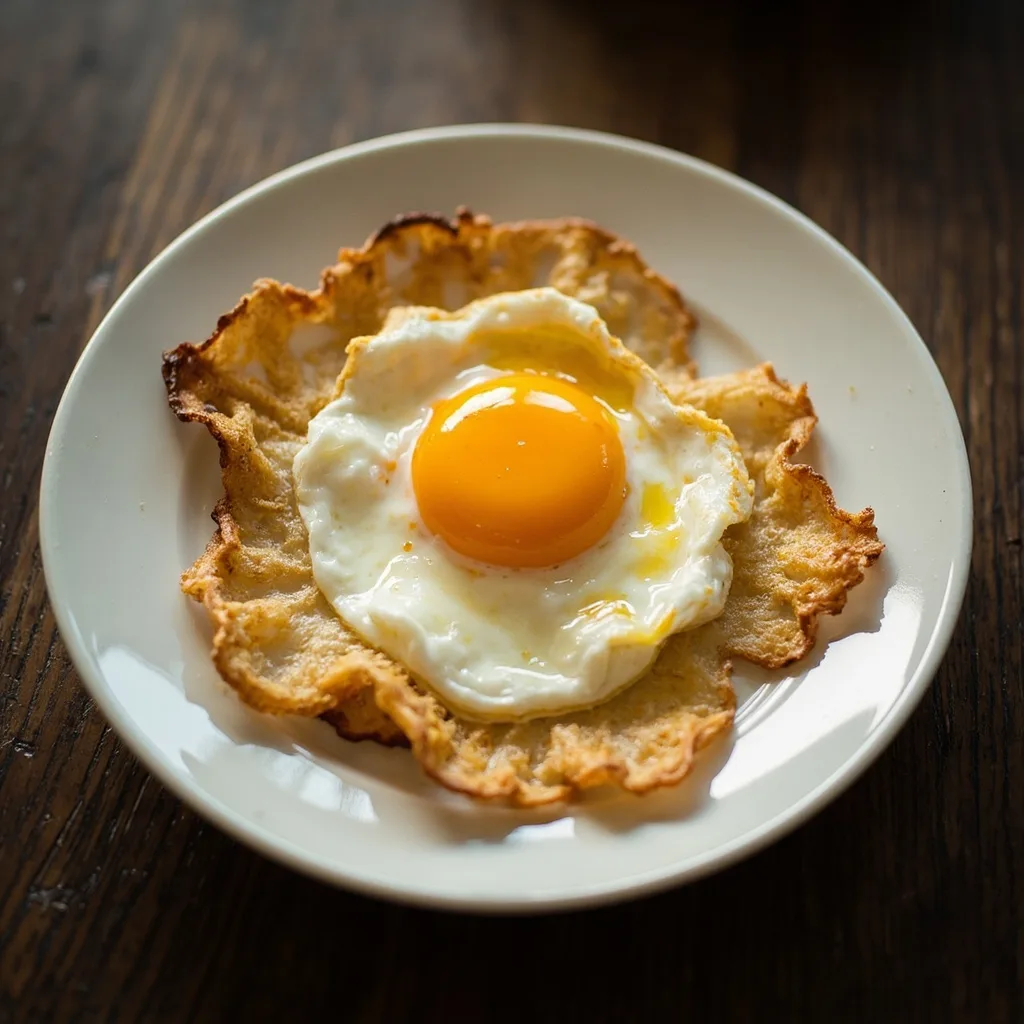
Ingredients
Extra-large eggs (fresh, refrigerated until use)
to taste
Vegetable oil (for brushing the pan, spatula, lining plates, and drizzling over finished product)
to taste
Instructions
1
Prepare Tools
Prepare a scratch-free nonstick flat pan and a spatula with a flat front edge. Pour 2 tbsp vegetable oil onto each plate for later use. Brush a thin layer of oil on the pan surface and spatula.
2
Preheat
Preheat the pan to 250°F (about 121°C).
3
Crack the Egg
Crack one egg into a small bowl and check for blood spots or shell pieces.
4
Fry
Gently pour the egg onto the hot pan. To adjust yolk position, quickly nudge it with the rim of a glass bowl before the egg sets. Hold the bowl edge against one side of the yolk for a few seconds to help set its bottom.
5
Remove from Pan
Once the whites are fully white and opaque, immediately use the oiled spatula to lift the egg and transfer it to the oiled plate.
6
Storage
Lightly drizzle about 2 tbsp vegetable oil over the surface of the egg, then cover with an inverted paper plate to prevent drying. Can be stored for over an hour.