Red Velvet Cake
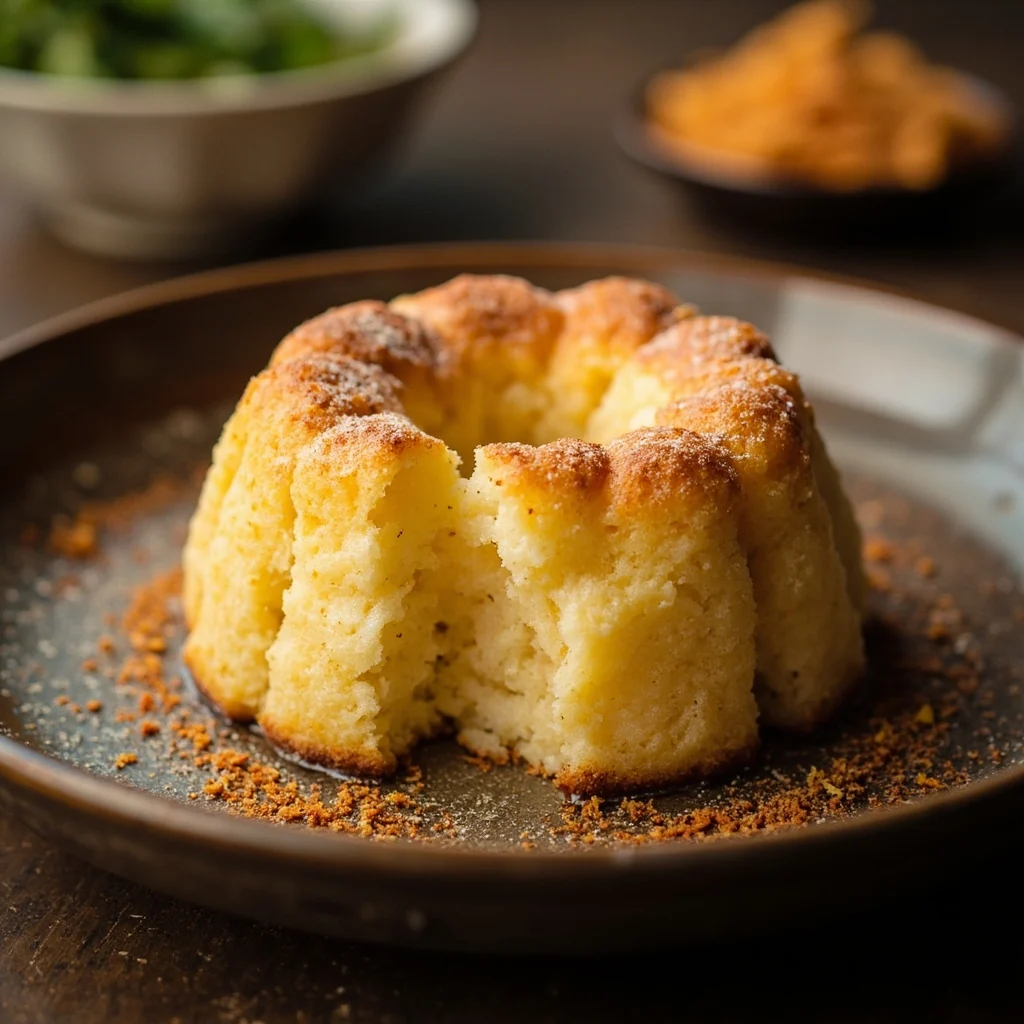
After eating plain chiffon cake too many times, it can get a little boring. Using the same base recipe, I added 5g of red yeast rice powder and an extra 10g of sugar. Contrary to what some people say, it didn't turn out bitter—that only happens when you add too much. I adjusted the recipe to fit a 17cm tube mold and have been happy with the results after several bakes.
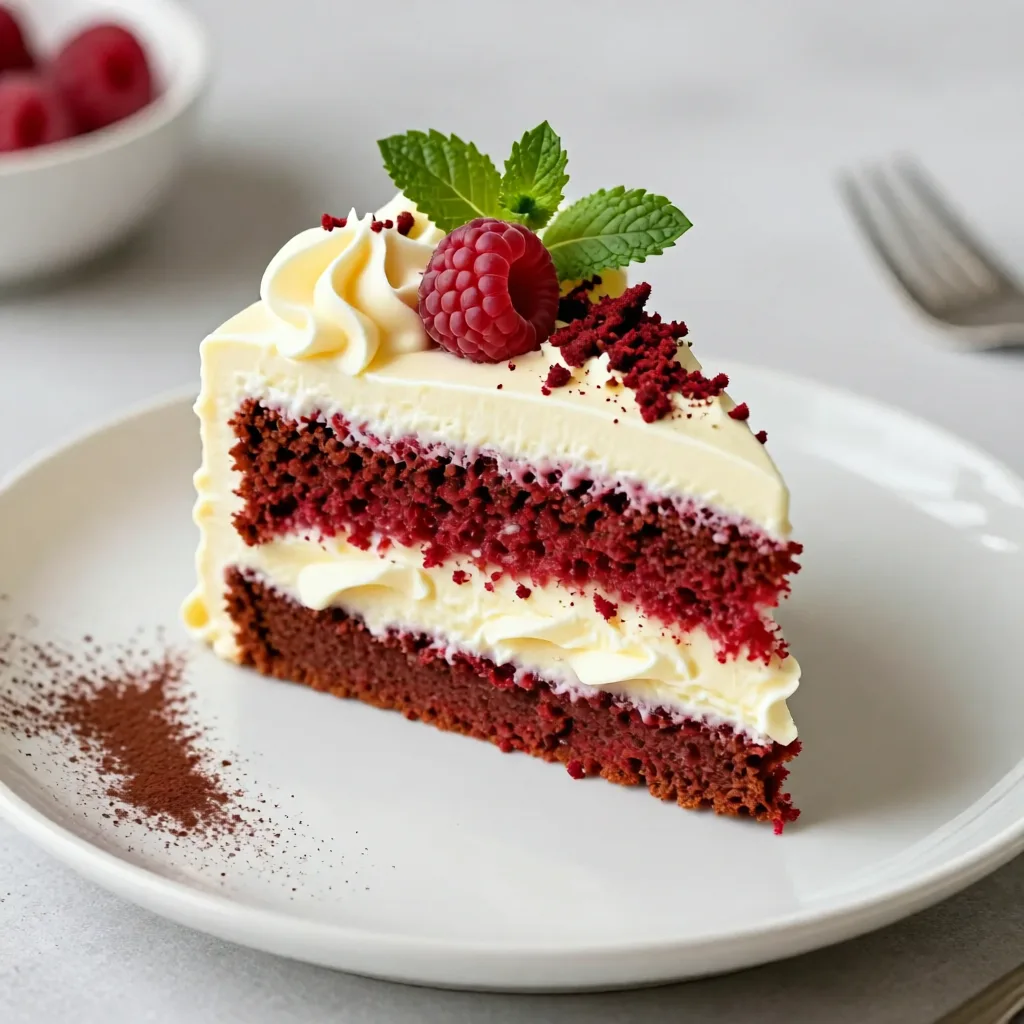
Ingredients
cake flour
85g
eggs
5 (total 275g)
milk
70g
corn oil
40g
red yeast rice powder
5g
white sugar
50g
Instructions
1
Step 1
Prepare all ingredients.
2
Step 2
Put milk, corn oil, and egg yolks into a large bowl.
3
Step 3
Stir evenly.
4
Step 4
Sift in the mixed cake flour and red yeast rice powder, stir until smooth with no lumps to make the egg yolk batter.
5
Step 5
First beat the egg whites at low speed until large coarse bubbles form.
6
Step 6
Then add the 40g of sugar in three batches, beating at high speed until the mixture shows soft peaks.
7
Step 7
Finally, beat until the egg whites reach a nearly stiff peak state (soft peaks that are almost firm enough to hold their shape).
8
Step 8
Take one-third of the beaten egg whites and add them to the egg yolk batter, fold gently until evenly combined; do not stir in circles.
9
Step 9
Pour the mixed cake batter into the remaining beaten egg whites.
10
Step 10
Fold gently until evenly combined, making sure to scrape the bottom of the bowl thoroughly to prevent any egg yolk batter from sticking to the bottom.
11
Step 11
Then pour the batter into a baking mold, tap the mold gently twice on the counter to release large air bubbles from the batter. Preheat the oven to 160°C for 10 minutes in advance. Place the cake on the second rack from the bottom, and bake for approximately 45 minutes. After baking, remove the cake from the oven and tap it gently on the counter twice.
12
Step 12
Immediately invert the cake to cool, and only remove it from the mold once it is completely cooled.
13
Step 13
Finished product photo
14
Step 14
Finished product photo
15
Step 15
Finished product photo
16
Step 16
Finished product photo